Lab Environments
Using Codespaces for a Lab Environment
You can follow along with each exercise given in these training classes by creating a GitHub Codespace from one of the MITRE SAF team's GitHub repositories.
What is GitHub Codespaces?
Codespaces is GitHub's built-in cloud-based development environment service. Creating a Codespace creates a new virtual machine in GitHub's cloud that is prepopulated with that repository's code. The user can then access a Virtual Studio window in their browser that points to this virtual machine.
Overall, Codespaces allow for a user to make a few clicks on a repository's page and get a simple way to view and edit code, with no local dependencies required, since all the compute is happening in GitHub's cloud.
Why Codespaces?
Using a Codespace means that we, the instructors, can know for certain what capabilities and tools are available to the students in their development environments. It allows us to standardize the lab experience. If you're formally taking our classes, we will be using this method to do the exercises. If you are taking the classes as a self-taught experience, we still recommend you create a Codespace and follow along.
How do I launch a Codespace for my lab environment?
You'll need to create a fork of the SAF training lab environment repository. That repository contains all the install scripts and sample code you will need for the User, Beginner, and Advanced classes.
Instructions
- Log into github.com. If you do not have one already, you'll need to create a GitHub account. You need to do this so that you can create your "own" copy of the lab environment repository by forking it.
- Access the lab environment repository.
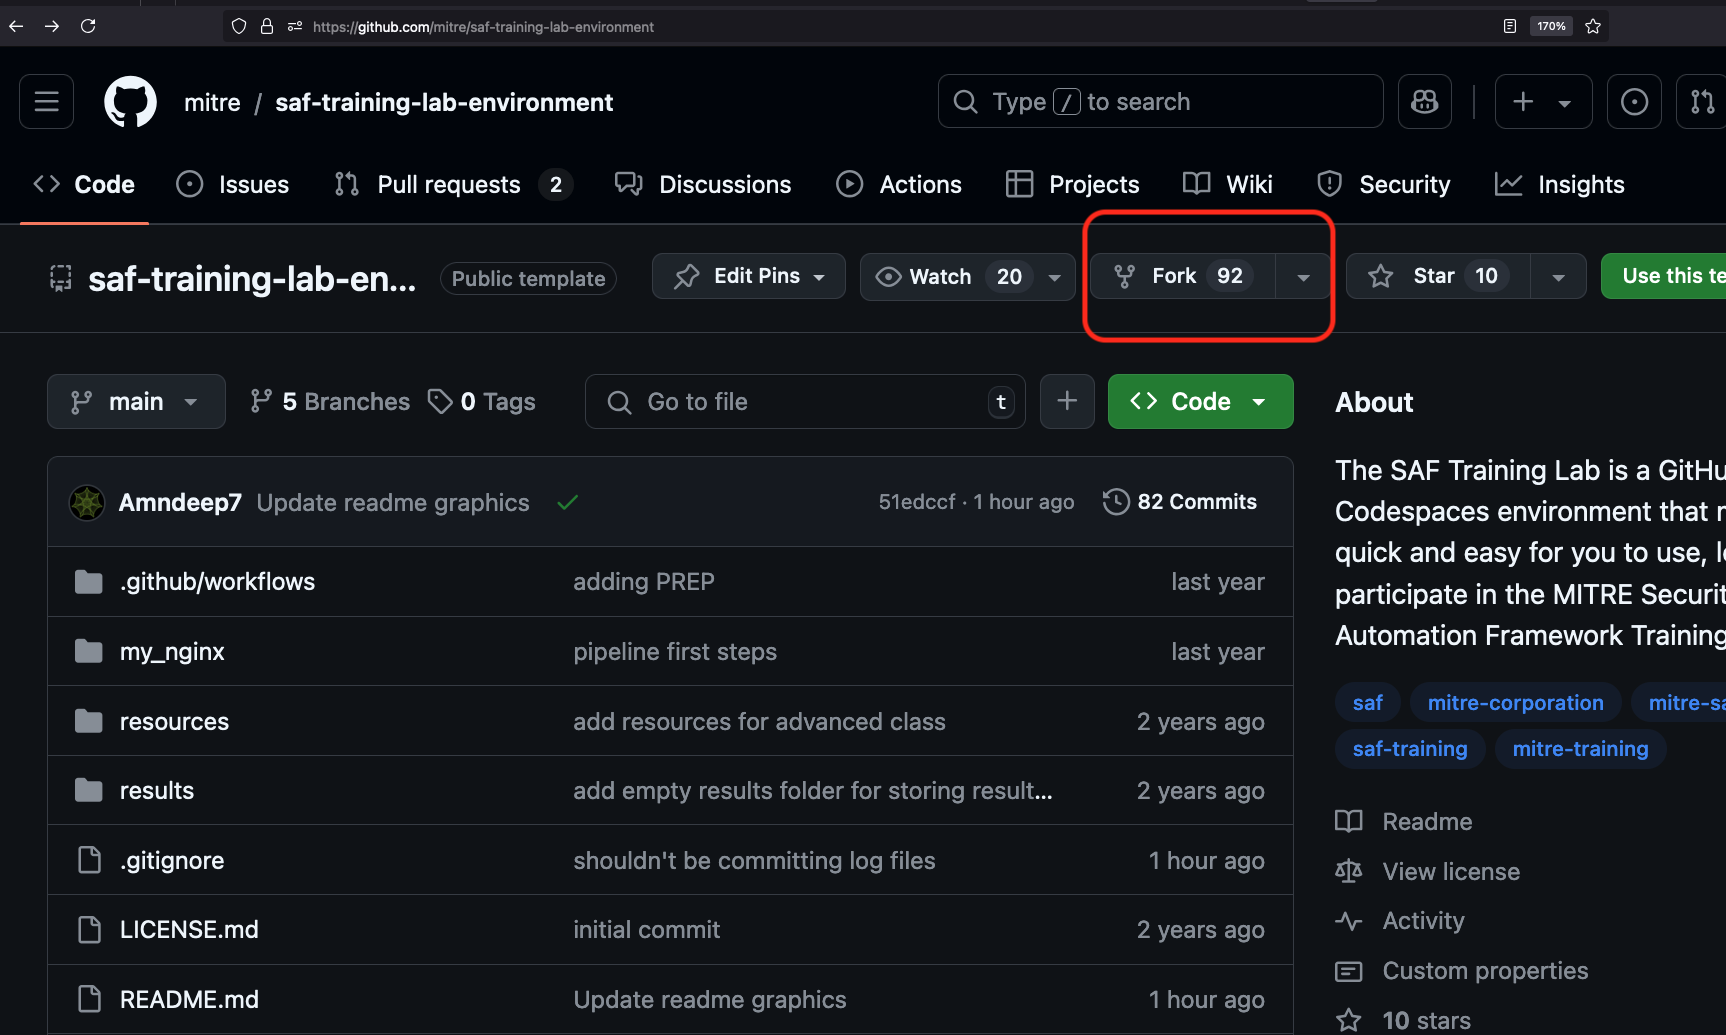
- Click the fork button:
You'll be taken to the fork creation screen. Make sure you select the option to create the fork under your own profile, and not under an organizational account (if you are part of one).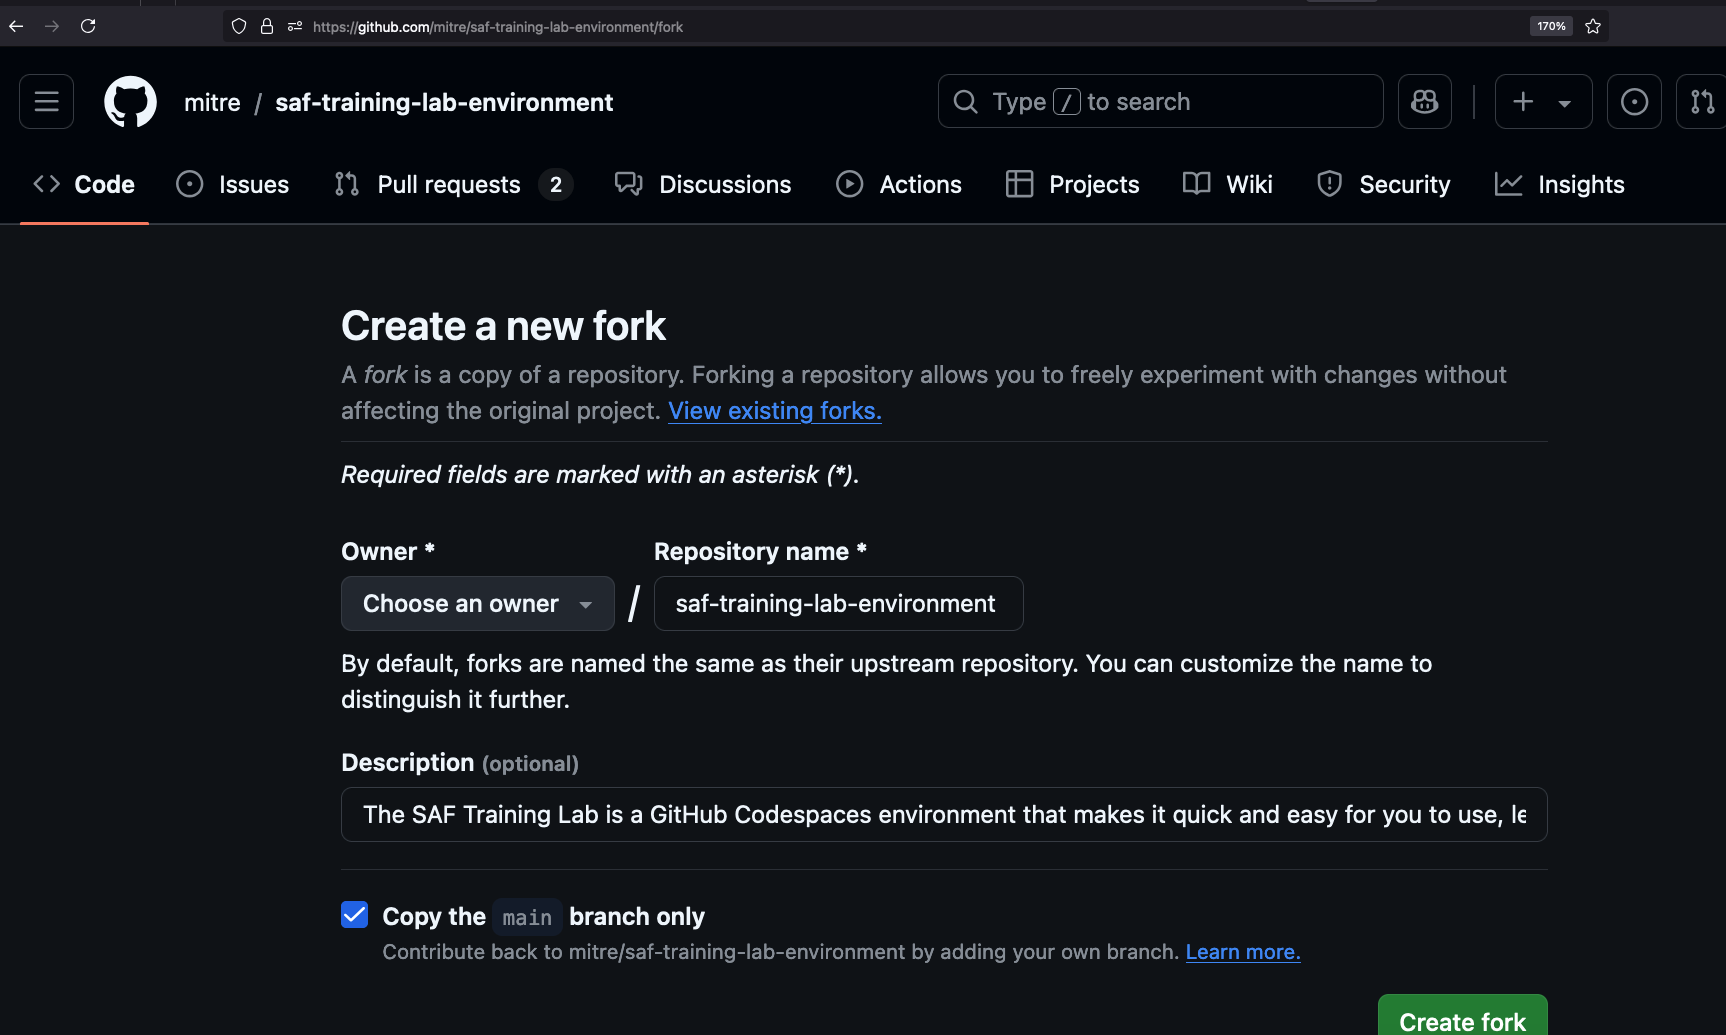
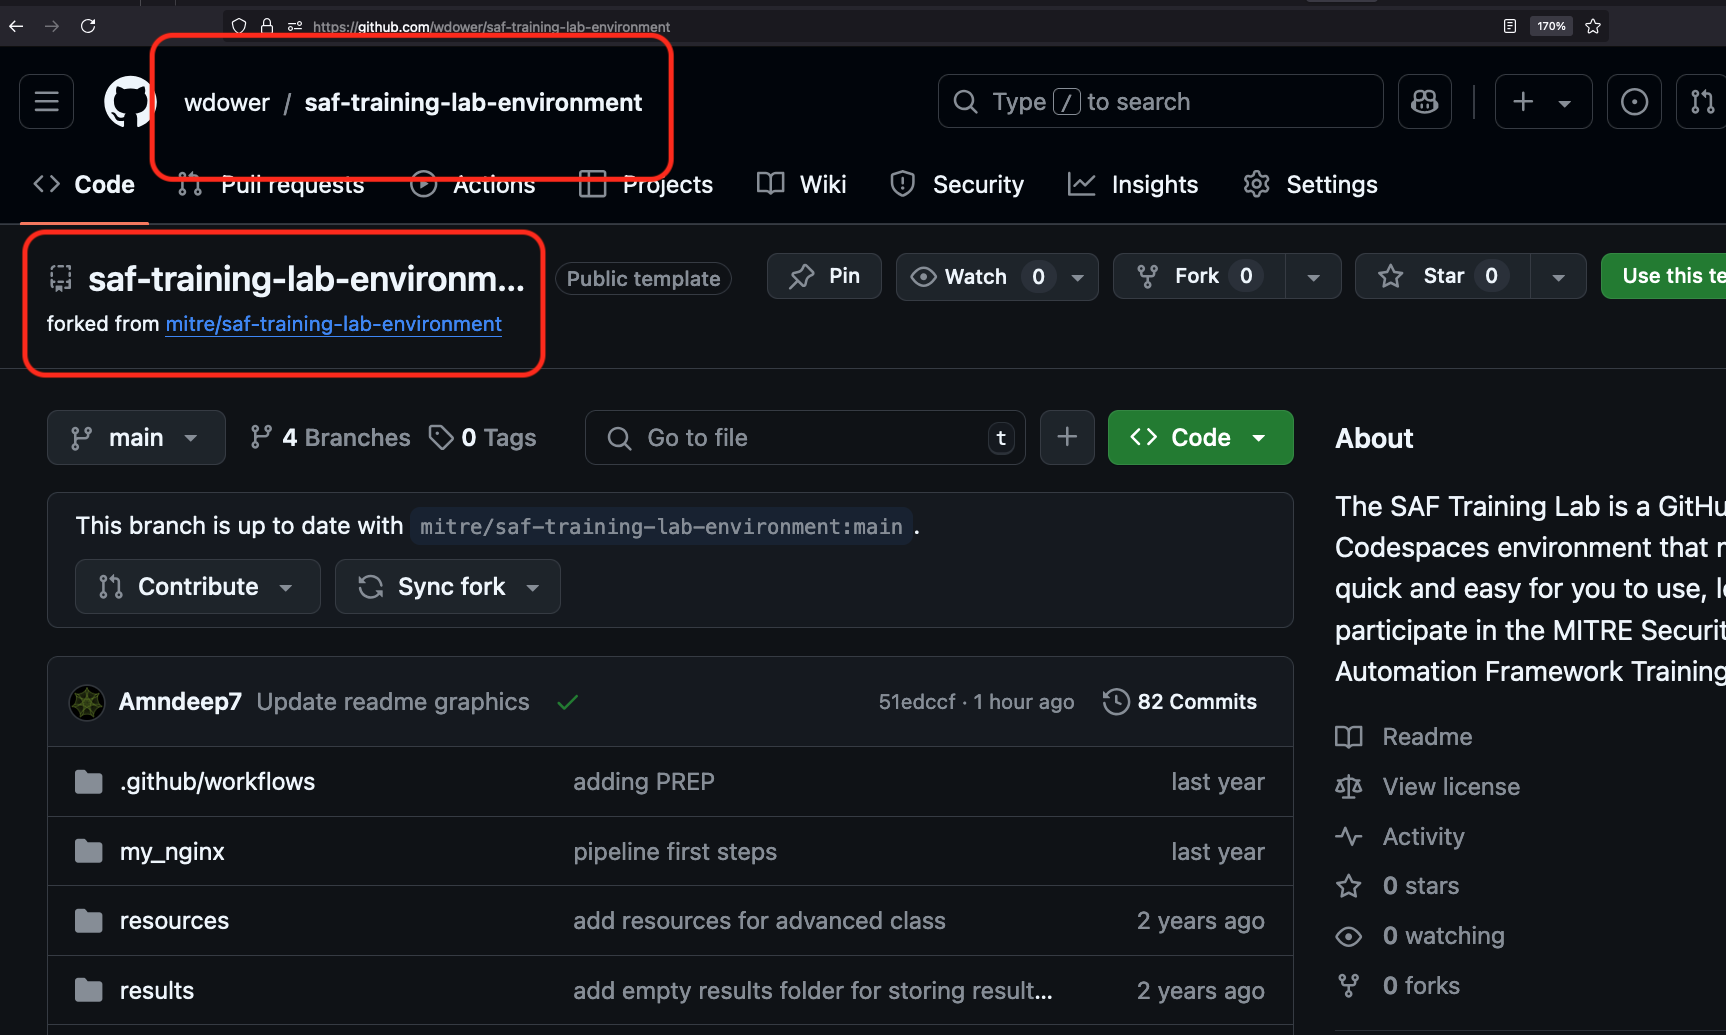
- You'll be taken to the new webpage for your fork. Note that it is a complete copy of the original MITRE-managed codebase, but you are now the owner.
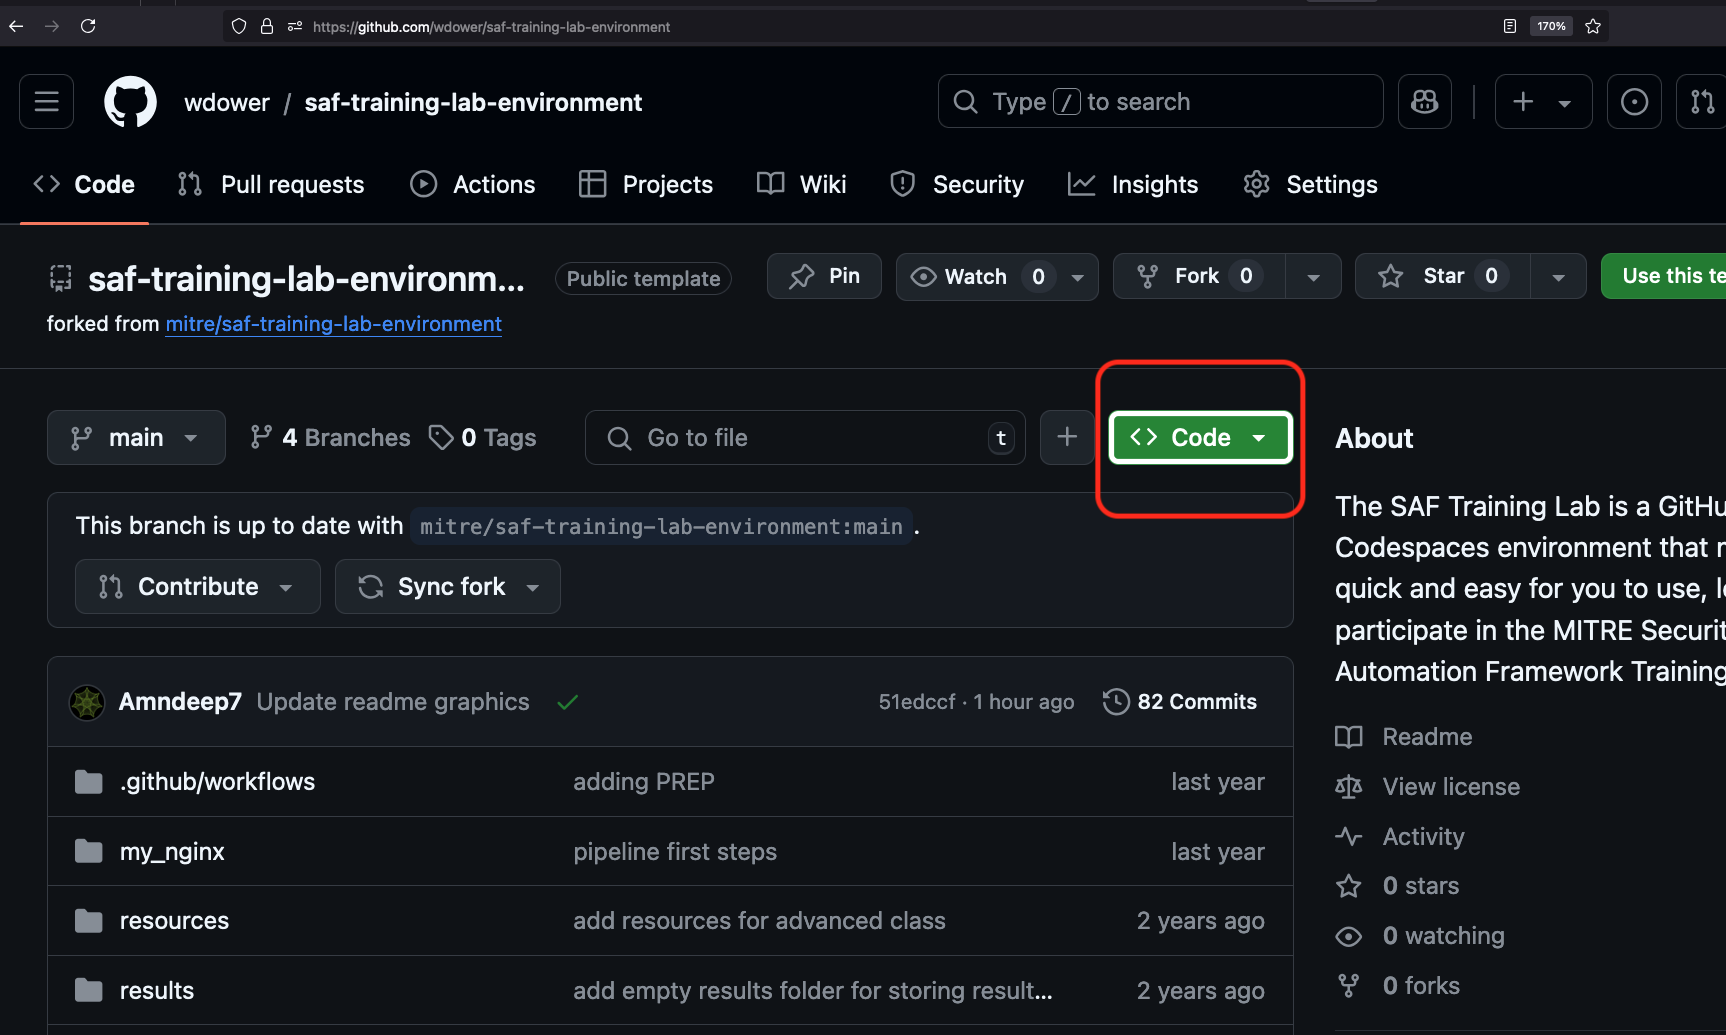
- Click the Code button to bring up the Codespaces modal (by default you might see a set of options for downloading the code locally, make sure you select the "codespace" tab on this modal).
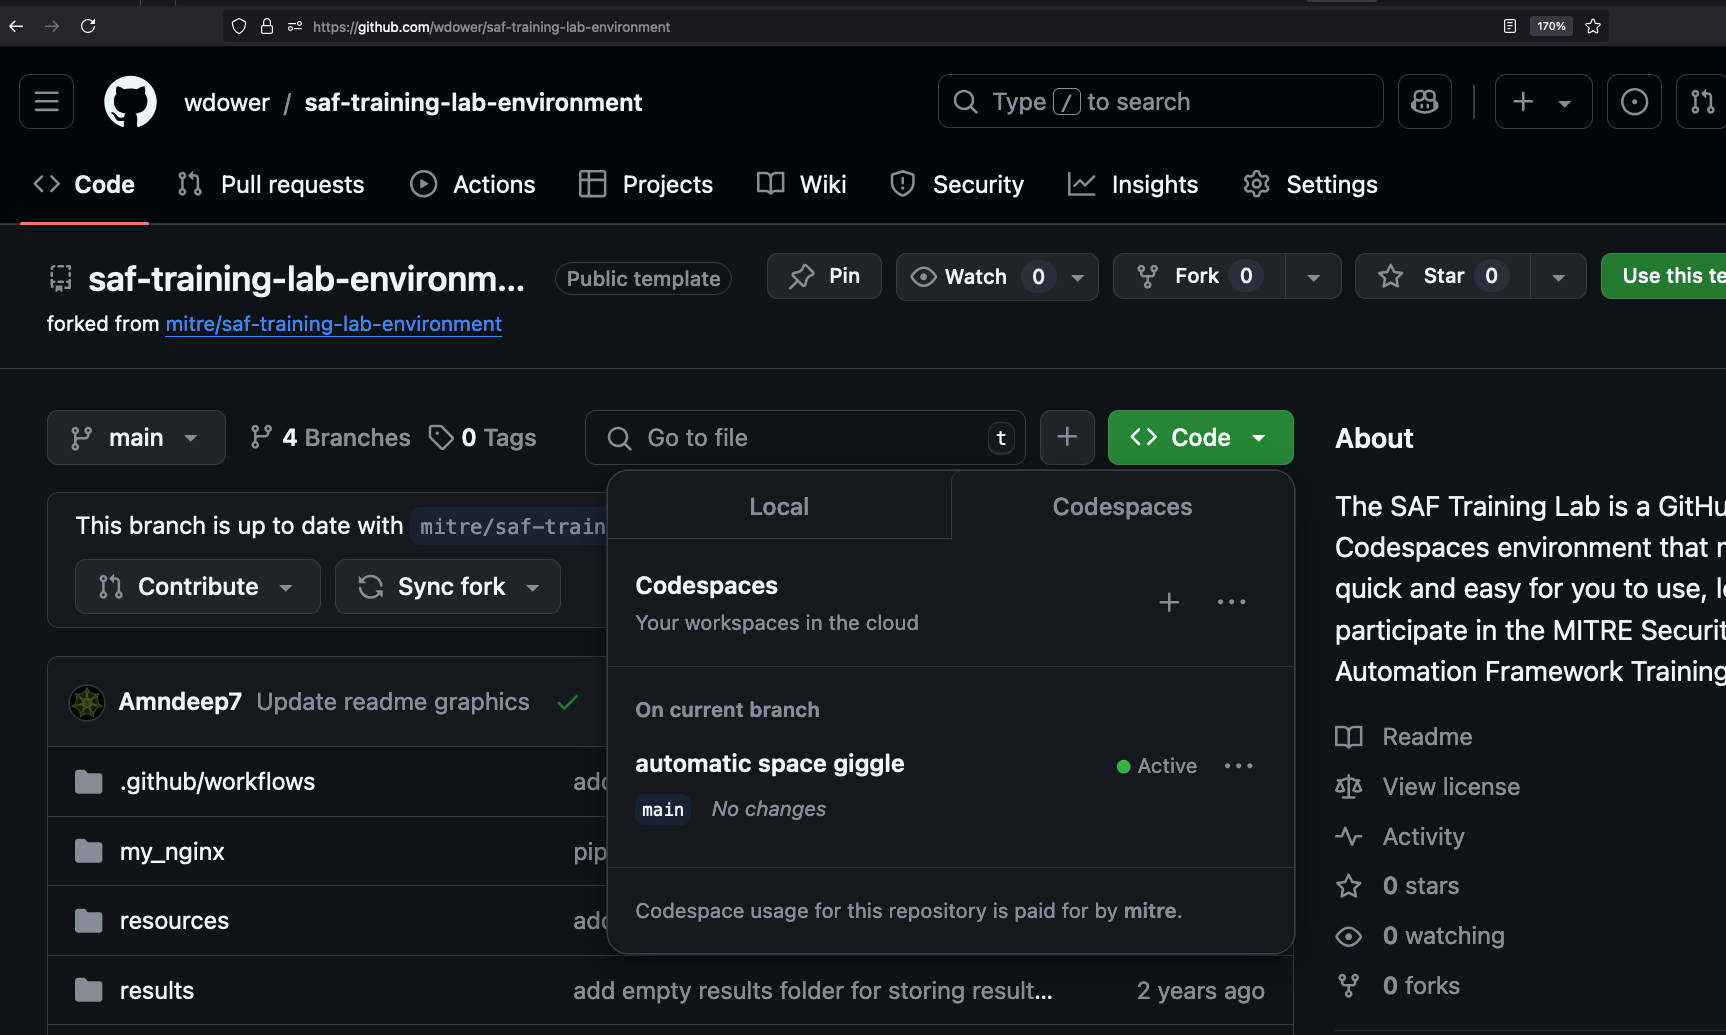
- Click the '+' to create a new codespace on the main branch of your forked repository. Note that if you leave your Codespace tab and return to this page, you will find a link to any existing virtual machines.
You can click on the ellipses next to the '+' if you want to customize the VM running the Codespace, but none of the class exercises require anything more than a very basic 2-core machine.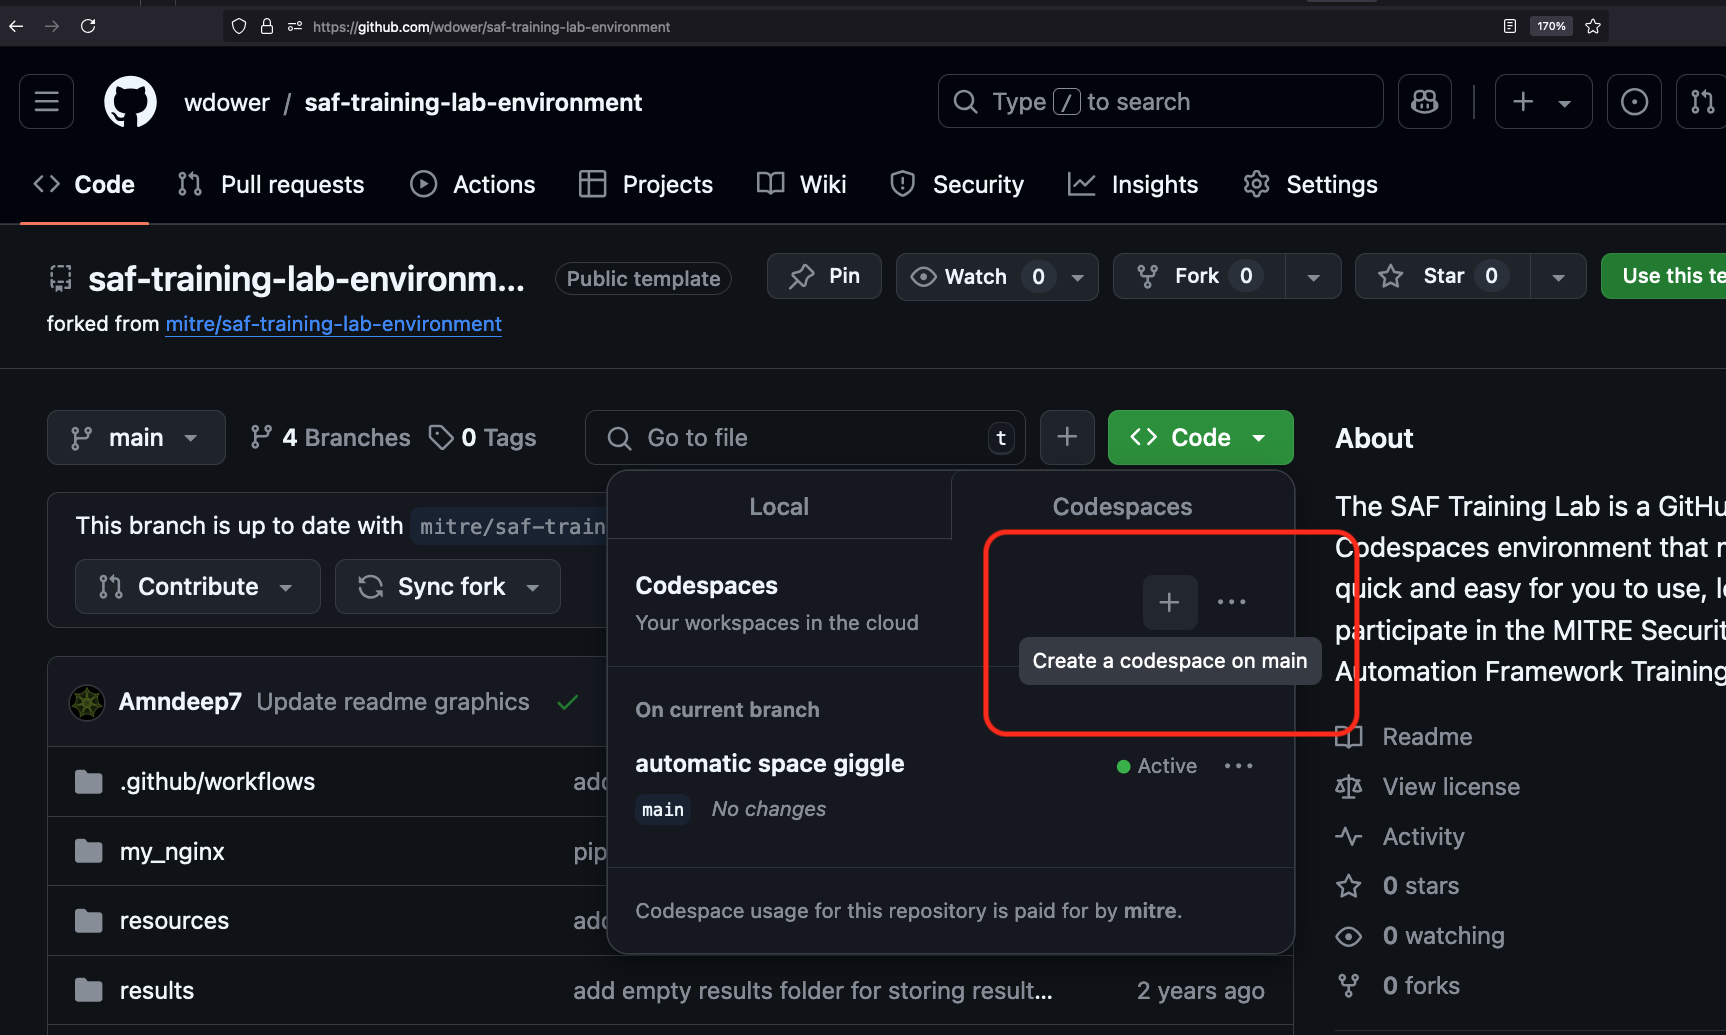
You will immediately be taken to a new tab, which will load a Virtual Studio Code window pointing to your shiny new VM running in GitHub's cloud.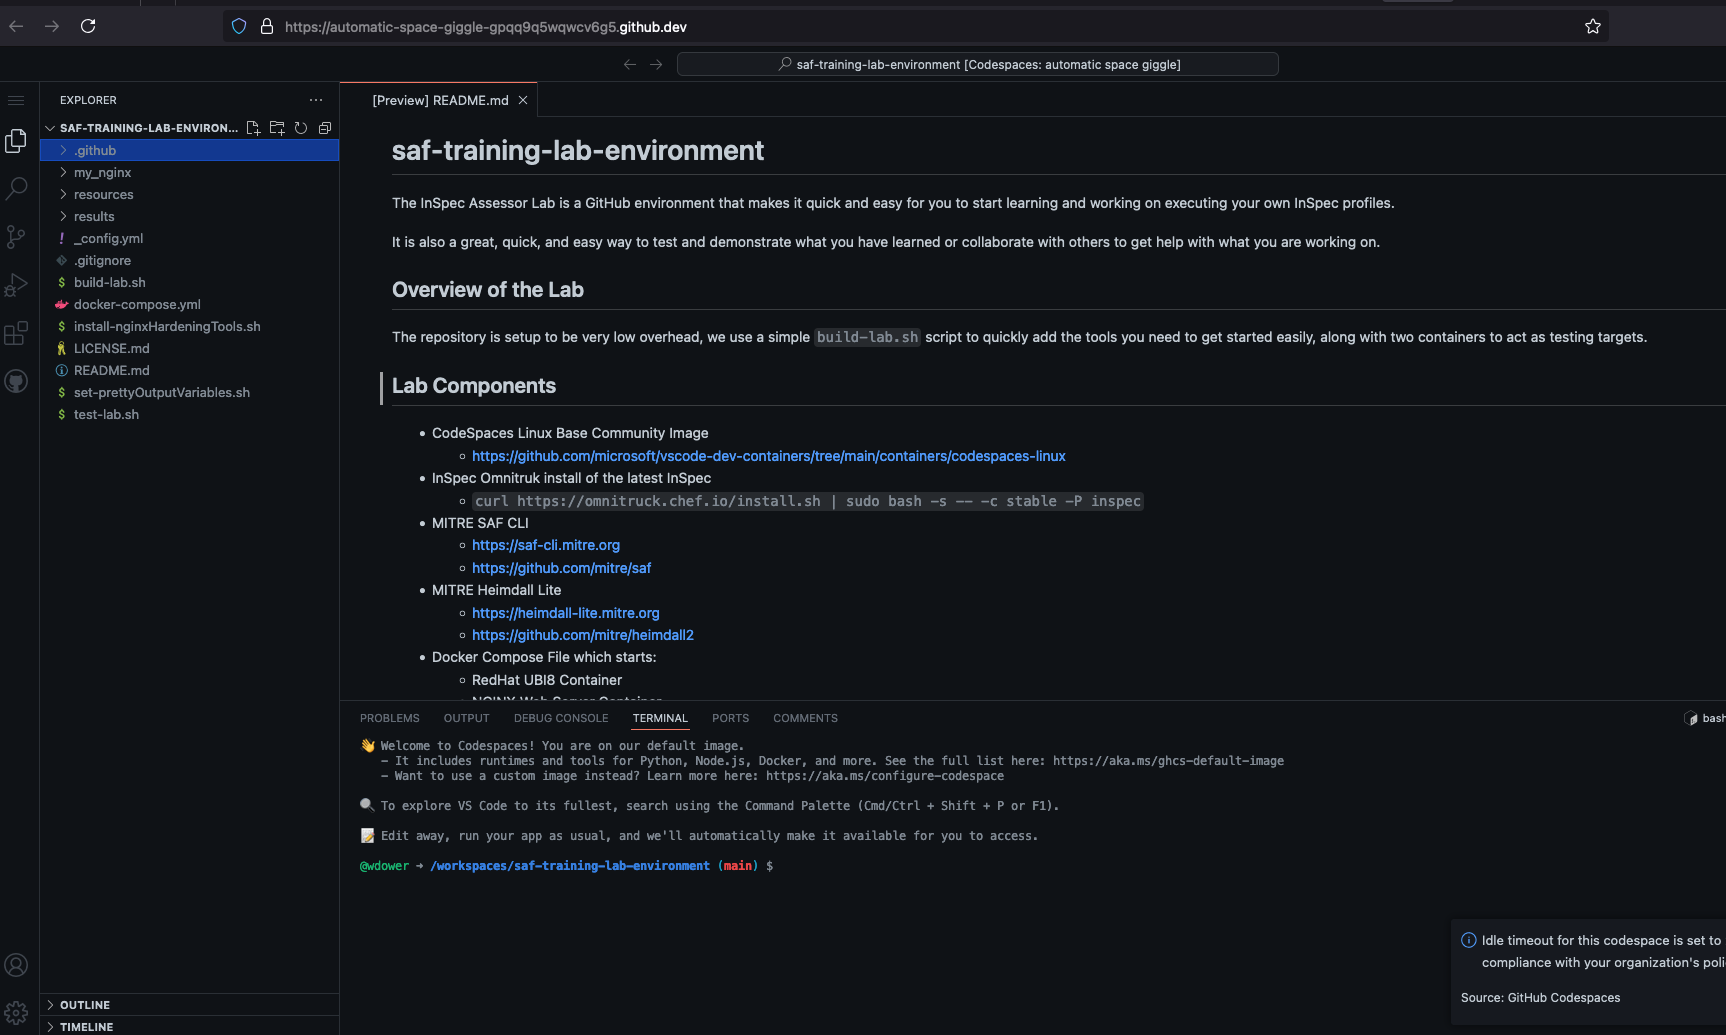
- The MITRE SAF team has included a script in this repository (
build-lab.sh) that you can use to easily install all the tools we will be using for the classes. It installs:
- InSpec
- Ansible
- The SAF CLI
- Helpful extensions for VSCode to handle Ruby code (and therefore InSpec code)
- A UBI8 and a NGINX container for practicing running Ansible and InSpec
Once you have launched your codespace and your browser connects to it, run:
source ./build-lab.shto execute the install script.
You can always re-run this script if one of your dependencies runs into a problem (for instance, if your containers go down because the Codespace automatically turned off to save resources). You could also run source ./test-lab.sh to do a quick spot check that InSpec, the SAF CLI, and your containers are present.
Your Lab Environment After the Class
We suggest you fork the lab environment because it gives you ownership over the code you will write for these classes. If you use the git utility to commit your changes inside the Codespace, you will be committing to your own fork, which you own. Feel free to play around with the tools we will introduce you to inside your codespace; it's yours.
NOTE that Codespaces are eventually turned off by GitHub if you do not use them for long enough -- if you ever want to refer back to what you did in these classes, be sure to not just commit your code with git commit, but push it back to the upstream repository with git push!