Interfaces
Upon a successful login, the user will be welcomed into TIR and the Dashboard will be displayed. At the top of the page, you will see three buttons: Dashboard, Boundaries, and Libraries. In later sections of this guide, you will find detailed instructions on how to properly configure and use each of these interfaces.
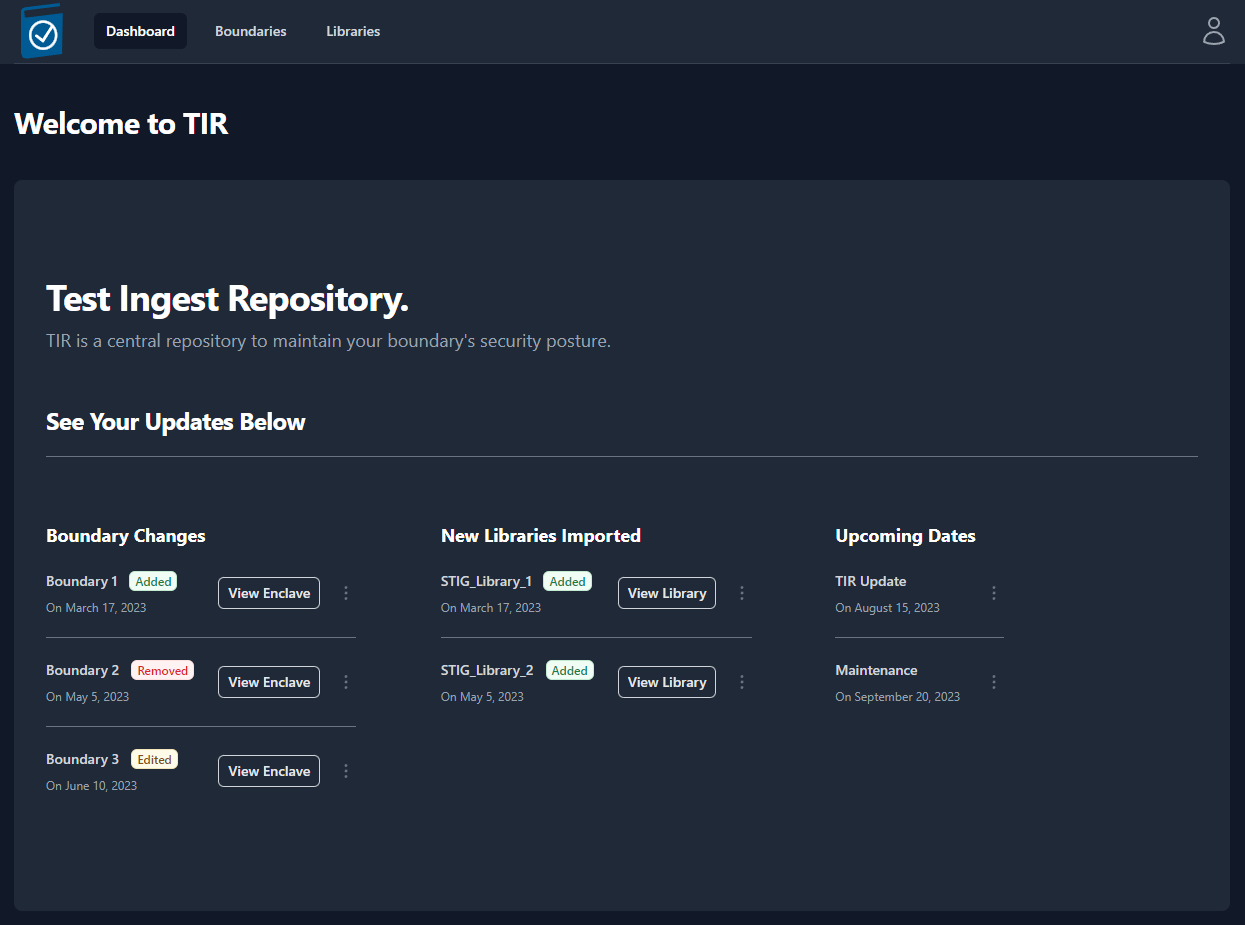
Dashboard
The dashboard will show you the most recent changes to your TIR instance and will display any important upcoming dates that the user should be aware of. Some examples of displayable content include; recent changes to Boundaries and the newest Security Technical Implementation Guide (STIG) libraries imported.
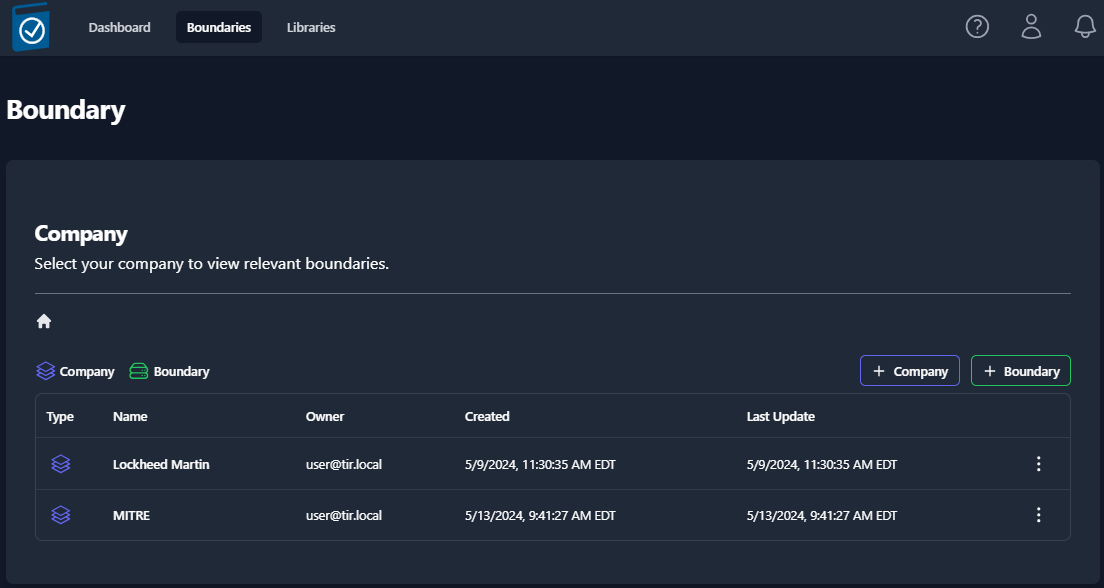
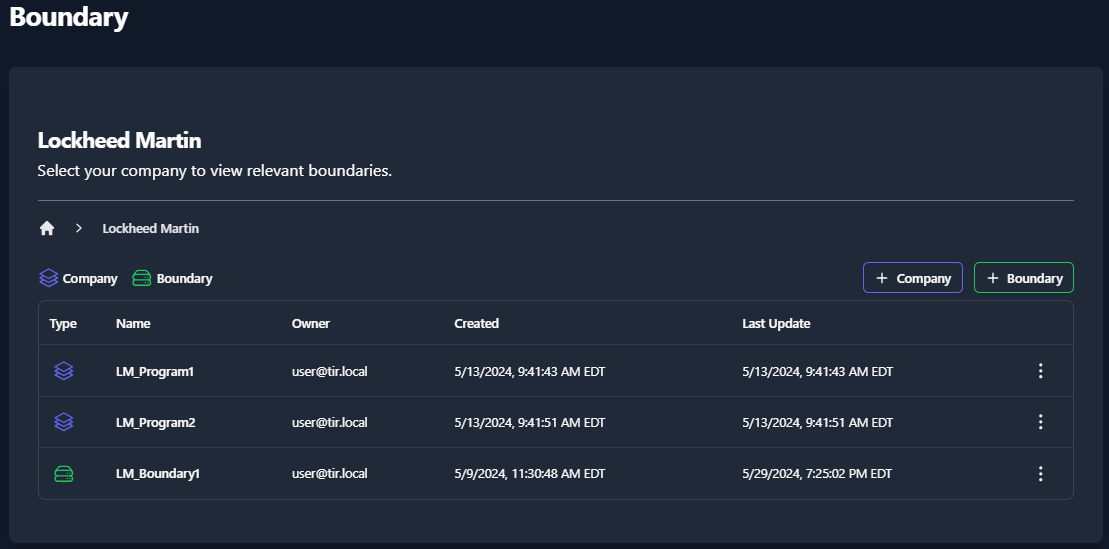
Boundaries
The Boundary tab contains “Companies” and “Boundaries” in a hierarchical structure to best support multiple programs within a single TIR instance. Companies will be used to store and organize Boundaries. The Boundaries will store your Systems and all of the STIG and Nessus data associated with those Systems. Permissions can be granted to Companies or Boundaries and your permissions will be granted based on the Role of your user account (see Table 1 for user permissions).
Libraries
The Libraries tab provides the ability to import new STIG libraries and updated Control Correlation Identifiers (CCI) mappings for different NIST SP 800-53 revisions.
STIG Libraries
The Department of Defense (DoD) releases quarterly updates to the STIG benchmarks. STIG Libraries can be downloaded at public.cyber.mil. These quarterly updates are released as .zip files. Once downloaded, the .zip files can be uploaded to TIR and made available to all users.
View STIG Libraries
Navigate to the Libraries page by clicking the Libraries button at the top on the page.
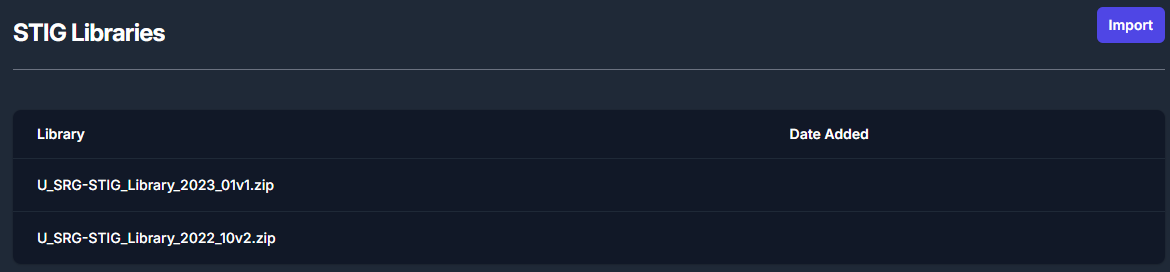
The Libraries page will display all of the STIG libraries that have been uploaded to your TIR instance.
Import STIG Libraries
To import a new STIG library, navigate to the Libraries page and click the Import button inside the STIG Libraries section. For reference, this button can be found in the top right of Figure 5: STIG Libraries.
The Import button will open a file navigation window. Navigate to the .zip file containing the STIG Library and click Open.
Once imported, the STIG libraries will follow a standardized naming convention. The naming convention will follow this template: U_SRG-STIG_Library_{year}_{month}{revision}.zip.
Please refer to the table below for more examples.
| Year | Release Quarter/ Month | Revision | Naming Convention |
|---|---|---|---|
| 2022 | Q1 / January (01) | v1 | U_SRG-STIG_Library_2022_01v1.zip |
| 2022 | Q2 / April (04) | v2 | U_SRG-STIG_Library_2022_04v2.zip |
| 2023 | Q3 / July (07) | v1 | U_SRG-STIG_Library_2023_07v1.zip |
| 2023 | Q4 / October (10) | v2 | U_SRG-STIG_Library_2023_10v2.zip |
Table 2: STIG Library Naming Conventions
CCI Matrix
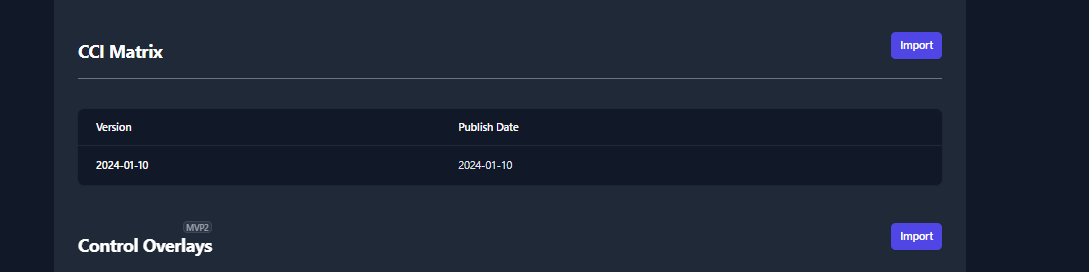
CCI mappings are distributed by NIST and are updated as necessary. The latest CCI Matrix can be downloaded at the following https://public.cyber.mil/stigs/cci/. Please note that CCI mappings differ between SP 800-53 Rev 4 and Rev 5, and keeping this updated will ensure more granular mapping of STIGs to applicable CCIs.
Import CCI Matrix Updates
To import a new CCI Matrix, navigate to the Libraries page and click the Import button inside the CCI Matrix section. For reference, this button can be found in the top right of Figure 6: CCI Matrix.
About Page
The About Page will let the user know what version of TIR they are currently accessing as well as the date that the current version was pushed to their environment.

User Profile
The User Profile icon looks like a person and is located in the top-right of the screen. To access your profile, click the Icon and then click Your Profile (as seen in Figure 8). If you wish to sign out, you can find the Sign Out button located under Your Profile.
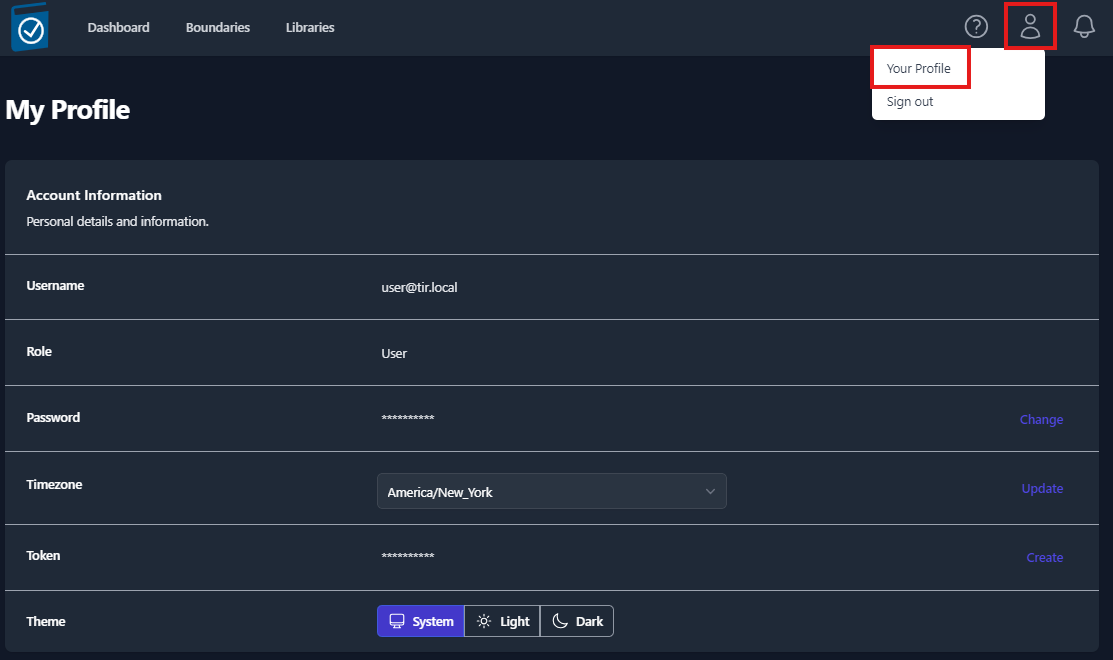
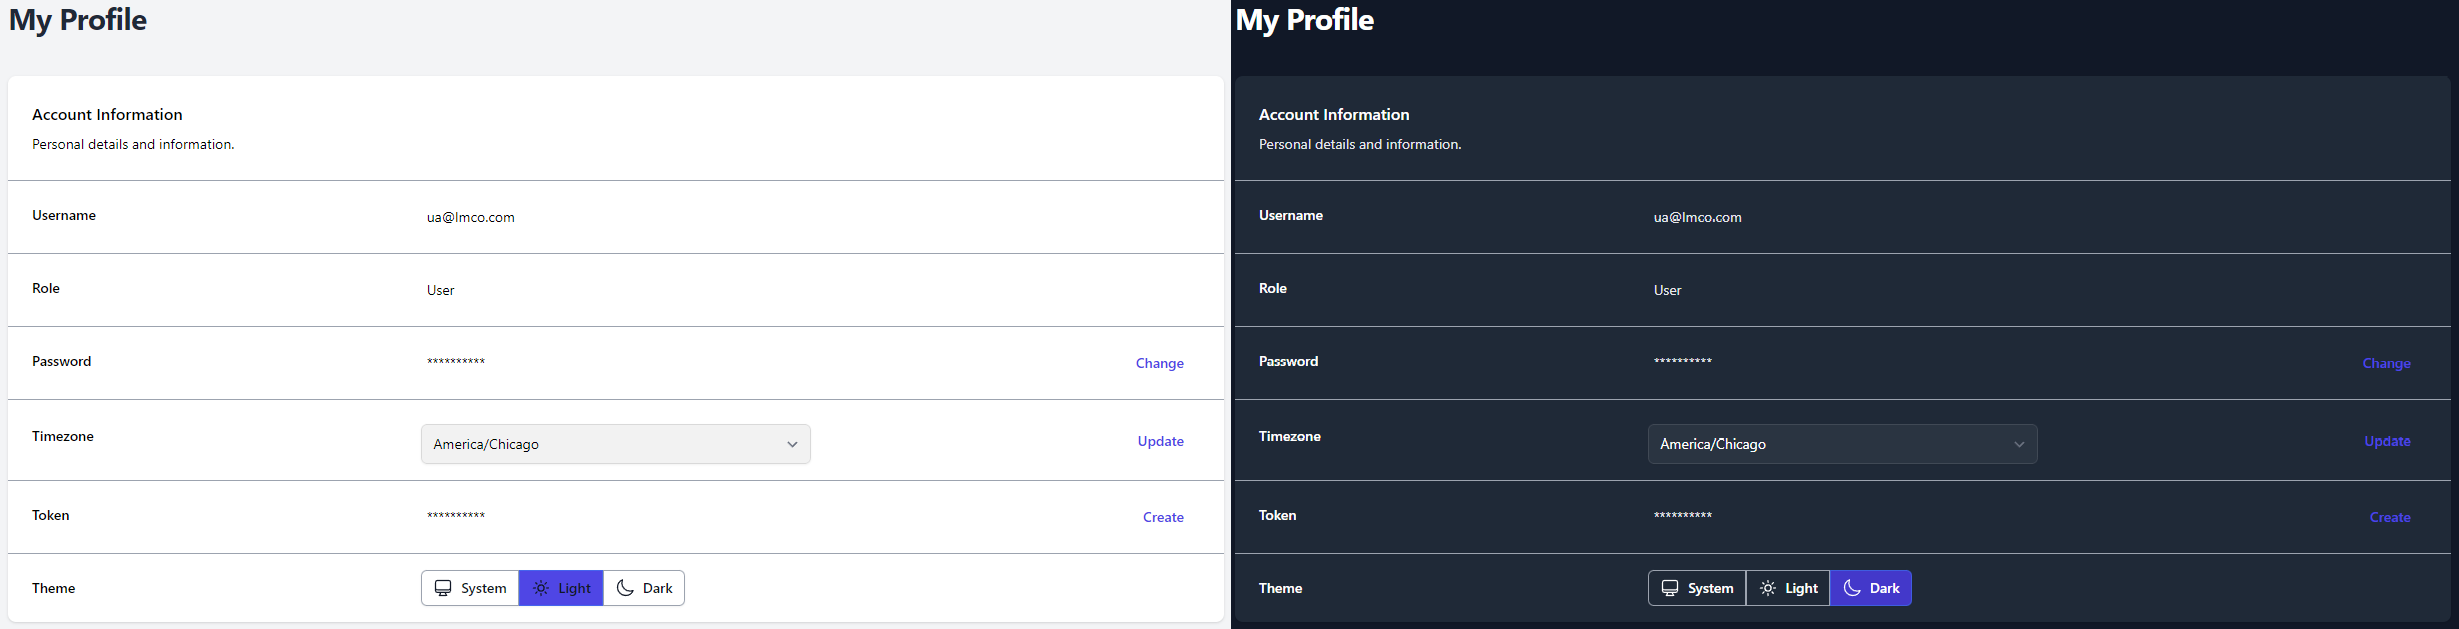
Your User Profile will display your Username, Role, Hidden Password, Time zone, API Token, and Color Theme.
- To change your password, click the Change button located on the right-side of the Password row. Enter a New Password, Confirm the Password, and click Save.

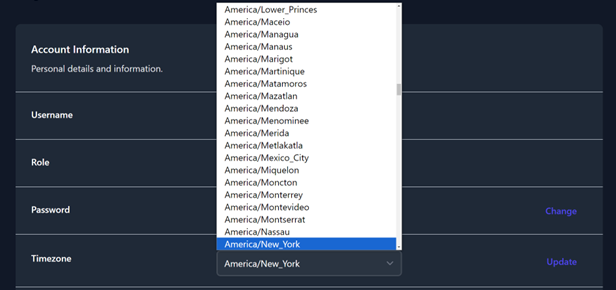
- To update your Time zone, select a new time zone from the drop-down menu and click Update button located on the right-side of the Timezone row.
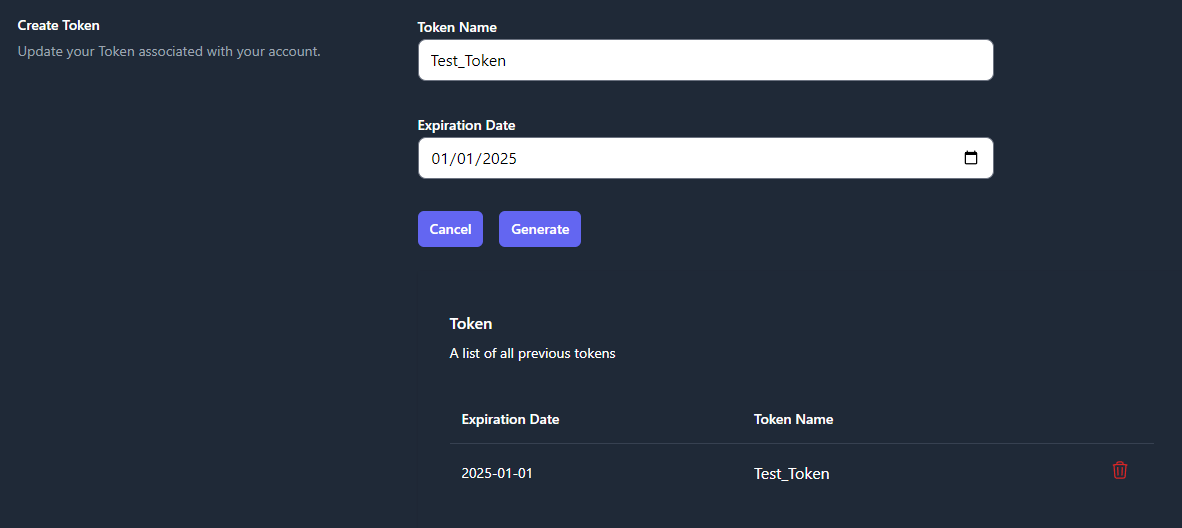
- To create an API Token, click the Create button on the right-side of the Token row. Enter a Token Name and an Expiration Data, then click Generate. A pop-up window will appear that contains your Token Code. Please save that code before closing the window. A list of your existing tokens can be found in the Token Table. Please see Figure 11 as an example.
- To change the Coloring Theme of TIR, choose System, Light, or Dark from the Theme row. The System option will use the theme from your client system’s settings.
Notifications
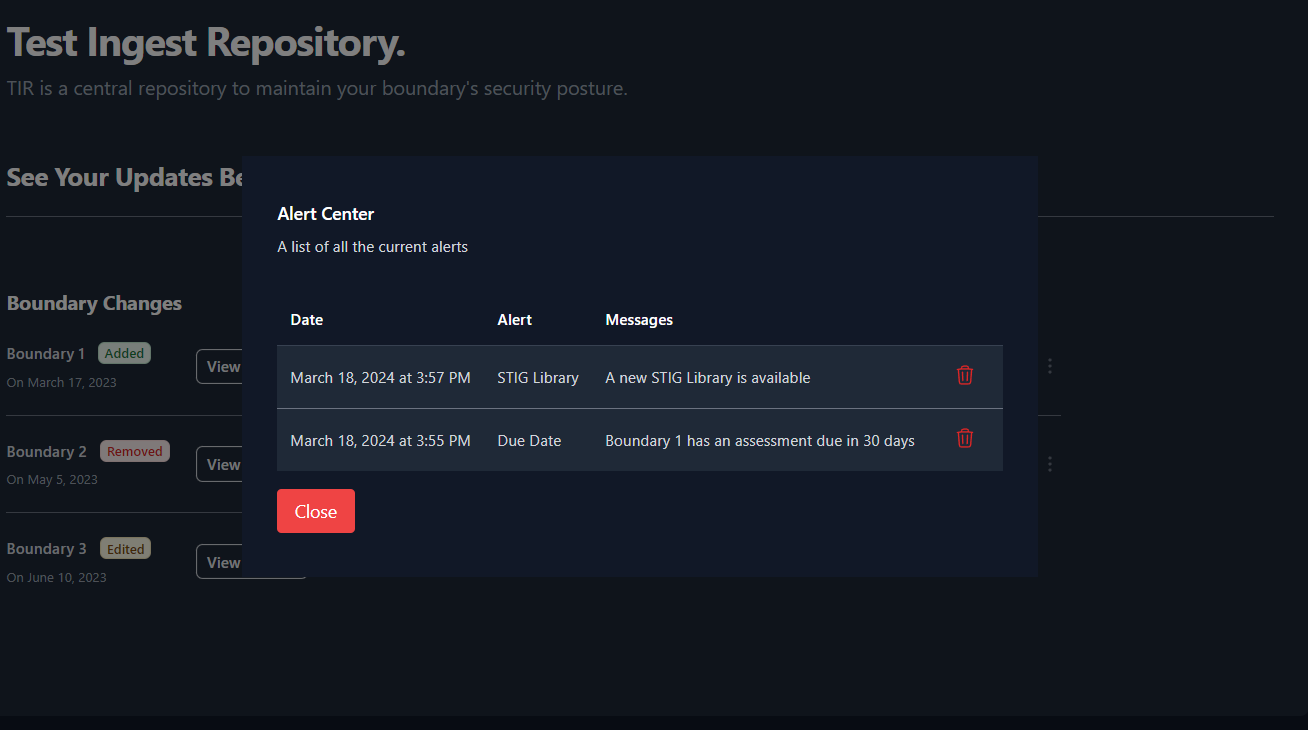
Users will receive notifications about important dates related to their Boundaries and when new STIG Libraries are available. The notification for a new STIG Library will be sent out to all Boundary Owners once a new STIG Library is imported into your TIR instance. These notifications will be displayed by the Bell icon in the top-right of the screen (as seen in Figure 13). A snippet of each unread notification will be displayed from this view.
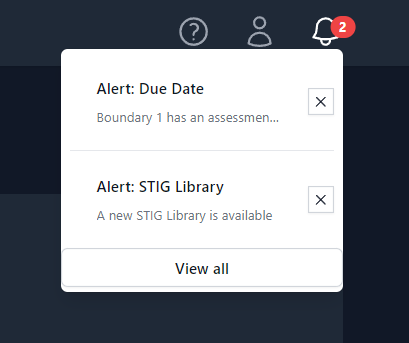
To view all of your notifications, press the View all button at the bottom of the Notification Bell menu (Figure 13). An example of the full notification page can be seen below in Figure 14.