8. CI/CD Pipelines
CI/CD Pipelines

Now that we have a solid grasp on InSpec, let's discuss the bigger picture -- how we can use the validation content we wrote inside a real test case pipeline.
If you have taken the SAF User class, you will be familiar with many of the activities we will be doing as part of the sample pipeline in the next few sections, including using Ansible to harden a test image, validating it with InSpec, and using the SAF CLI to assess our results. We will be bundling all those activities together into a pipeline workflow file so that we can automate them.
Background
Software developers create pipelines for the same reason that factory designers create assembly lines. They break processes into logical units and make them repeatable, consistent, and automated.
Pipelines also enable several paradigms in modern DevSecOps development, including continuous integration and continuous delivery (CD).
Continuous Integration (CI) is the practice of requiring all changes to a codebase to pass a test suite before they are committed. CI is implemented on a codebase to make sure that any time a bug is introduced to a codebase, it is caught and corrected as soon as someone tries to commit it, instead of months or years later in operations when it is much more difficult to fix.
Continuous Delivery is the practice of automatically delivering software (such as, for example, by pushing code to live deployment) once it passes a test suite. This is a core practice of DevSecOps -- code should be developed incrementally and small units of functionality should be delivered as soon as they are complete and pass all tests.
A fully mature DevSecOps pipeline will implement both strategies. Note that both CI and CD both presuppose that you have a high-quality, easy to use test suite available. We will create our demo pipeline using an InSpec profile as our test suite.
Pipeline Orchestrators
We will be building our sample pipeline using GitHub Actions, the pipeline orchestration tool that is built into GitHub. We are using this feature because it is free to use unless we exceed usage limits, and because we can write up a pipeline workflow file right from our GitHub Codespaces lab environment.
While we are using GitHub Actions as the simplest option for this class, there are many other pipeline orchestration tools. Common tools include:
- GitLab's GitLab CI/CD
- DroneCI
- Atlassian's BitBucket Pipelines
- Jenkins
Have you used pipeline orchestration software other than that mentioned here?
Most of the general concepts discusses in this portion of the class will be covered by any pipeline orchestrator tool, though they wil likely have different terminology for individual features.
Our Use Case
Let's learn how to build pipelines by taking on the role of a developer who needs to create a pipeline for a hardened NGINX container image. We can borrow the InSpec profile we've already written for our container to make sure that any time we update the container image, we do not accidentally break any security controls.
We need to:
- Deploy a test NGINX container image
- Harden the container image
- Run a validation scan (our InSpec profile) against the test system
- Verify that the hardened image is, in fact, hardened to our satisfaction using the validation results from the test system
Real-world pipelines are often used this way in a gold image pipeline, which run on a defined frequency to continuously deliver a secure, updated machine image that can be used as a base for further applications. In this use case, we would take the hardened and validated image we produced as part of the pipeline and save it as our new gold image. This way, developers can grab a "known-good" image to host their applications without having to configure or keep it up to date themselves.
Pipeline Tasks
Pipelines are conceptually broken down into a series of individual tasks. The tasks we need to complete in our pipeline include:
- Prep - configure our runner for later work (in our case, make sure InSpec is installed and ready to go)
- Lint - make sure code passes style requirements (in our case,
inspec check .) - Deploy the test suite (in our case, an NGINX container we want to use as a test system)
- Harden the test suite (we will use Ansible like we do in the SAF User class)
- Validate - check configuration (in our case, run InSpec against our test system and generate a report)
- Verify - confirm if the validation run passed our expectations (in our case, use the SAF CLI to check that the Validation report met our threshold)
- Do something with results - e.g. publish our image if it met our expectations and passed the tests
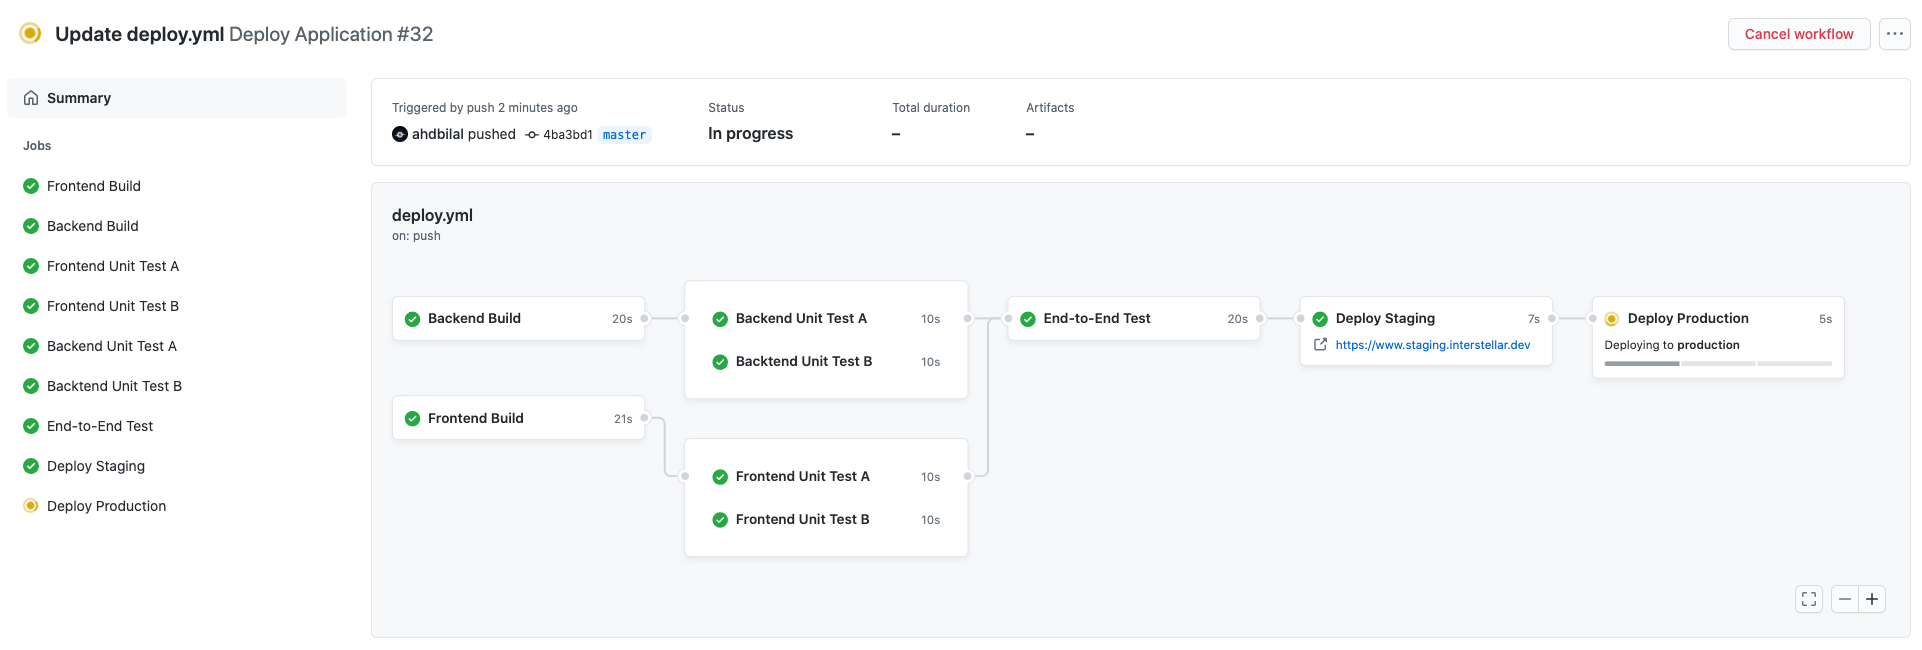
GitHub Actions organizes the tasks inside a pipeline into jobs. A given pipeline can trigger multiple jobs, but for our sample gold image pipeline we really only need one for storing all of our tasks.
Runners
Pipeline orchestrators all have some system for selecting a runner node that will be assigned to handle the tasks we define for the pipeline. Runners are any system -- containers or full virtual machines in a cloud environment -- that handle the actual task execution for a pipeline.
In the case of GitHub actions, when we trigger a pipeline, GitHub by default sends the jobs to its cloud environment to hosted runner nodes. The operating system of the runner for a particular job can be specified in the workflow file. See the docs for details.
In the next sections we will create a GitHub Action workflow to handle these jobs for us. We will commit the workflow file to our repository and watch it work!