9. GitHub Actions
GitHub Actions
Let's create a GitHub Action workflow to define our pipeline.
The Workflow file
Pipeline orchestration tools are usually configured in a predefined workflow file, which defines a set of tasks and the order they should run in. Workflow files live in the .github folder for GitHub Actions (the equivalent is the gitlab-ci file for GitLab CI, for example).
Let's create a new file to store our workflow.
mkdir .github
mkdir .github/workflows
touch .github/workflows/pipeline.yml
Neither command has output, but you should see a new file if you examine your .github directory:
tree .github
.github
└── workflows
    └── pipeline.yml
Open that file up for editing.
Workflow File - Complete Example
For reference, this is the complete workflow file we will end up with at the end of the class:
name: Demo Security Validation Gold Image Pipeline

on:
  push:
    branches: [ main, pipeline ]                # trigger this action on any push to main branch

jobs:
  gold-image:
    name: Gold Image NGINX
    runs-on: ubuntu-20.04
    env:
      CHEF_LICENSE: accept                      # so that we can use InSpec without manually accepting the license
      PROFILE: my_nginx                         # path to our profile
    steps:
      - name: PREP - Update runner              # updating all dependencies is always a good start
        run: sudo apt-get update
      - name: PREP - Install InSpec executable
        run: curl https://omnitruck.chef.io/install.sh | sudo bash -s -- -P inspec -v 5

      - name: PREP - Check out this repository  # because that's where our profile is!
        uses: actions/checkout@v3

      - name: LINT - Run InSpec Check           # double-check that we don't have any serious issues in our profile code
        run: inspec check $PROFILE

      - name: DEPLOY - Run a Docker container from nginx
        run: docker run -dit --name nginx nginx:latest

      - name: DEPLOY - Install Python for our nginx container
        run: |
          docker exec nginx apt-get update -y
          docker exec nginx apt-get install -y python3

      - name: HARDEN - Fetch Ansible role
        run: |
          git clone --branch docker https://github.com/mitre/ansible-nginx-stigready-hardening.git || true
          chmod 755 ansible-nginx-stigready-hardening

      - name: HARDEN - Fetch Ansible requirements
        run: ansible-galaxy install -r ansible-nginx-stigready-hardening/requirements.yml

      - name: HARDEN - Run Ansible hardening
        run: ansible-playbook --inventory=nginx, --connection=docker ansible-nginx-stigready-hardening/hardening-playbook.yml

      - name: VALIDATE - Run InSpec
        continue-on-error: true                 # we dont want to stop if our InSpec run finds failures, we want to continue and record the result
        run: |
          inspec exec $PROFILE \
          --input-file=$PROFILE/inputs.yml \
          --target docker://nginx \
          --reporter cli json:results/pipeline_run.json

      - name: VALIDATE - Save Test Result JSON  # save our results to the pipeline artifacts, even if the InSpec run found failing tests
        uses: actions/upload-artifact@v3
        with:
          path: results/pipeline_run.json

      - name: VERIFY - Display our results summary
        uses: mitre/saf_action@v1
        with:
          command_string: "view summary -i results/pipeline_run.json"

      - name: VERIFY - Ensure the scan meets our results threshold
        uses: mitre/saf_action@v1             # check if the pipeline passes our defined threshold
        with:
          command_string: "validate threshold -i results/pipeline_run.json -F threshold.yml"
This is a bit much all in one bite, so let's construct this full pipeline piece by piece.
Workflow Triggers
Pipeline orchestrators need you to define some set of events that should trigger the pipeline to run. The first thing we want to define in a new pipeline is what triggers it.
In our case, we want this pipeline to be a continuous integration pipeline, which should trigger every time we push code to the repository. Other options include "trigger this pipeline when a pull request is opened on a branch," or "trigger this pipeline when someone opens an issue on our repository," or even "trigger this pipeline when I hit the manual trigger button."
Saving Files vs. Pushing Code
In all class content so far, we have been taking advantage of Codespaces' autosave feature. We have been saving our many edits to our profiles locally.
Pushing code, by contrast, means taking your saved code and officially adding it to your base repository's committed codebase, making it a permanent change. Codespaces won't do that automatically.
Let's give our pipeline a name and add a workflow trigger. Add the following into the pipeline.yml file:
name: Demo Security Validation Gold Image Pipeline

on:
  push:
    branches: [main] # trigger this action on any push to main branch
GitHub Actions has a number of pre-defined workflow triggers we can lean on and refer to as attributes in our YAML file. GitHub will now watch for pushes to our main branch and run the workflow when it sees a push.
YAML Syntax
We will be heavily editing pipeline.yml throughout this part of the class. Recall that YAML files like this are whitespace-delimited. If you hit confusing errors when we run these pipelines, always be sure to double-check your code lines up with the examples.
Why Is `[main]` in brackets?
The branches attribute in a workflow file can accept an array of branches we want to trigger the pipeline if they see a commit. We are only concerned with main at present, so we wind up with '[main]'.
Our First Step
Next, we need to define some kind of task to complete when the event triggers.
First, we'll define a job, the logical group for our tasks. In our pipeline.yml file, add:
jobs:
  gold-image:
    name: Gold Image NGINX
    runs-on: ubuntu-20.04
    env:
      CHEF_LICENSE: accept # so that we can use InSpec without manually accepting the license
      PROFILE: my_nginx # path to our profile
pipeline.yml after adding a jobname: Demo Security Validation Gold Image Pipeline
on:
push:
branches: [main] # trigger this action on any push to main branch
jobs:
gold-image:
name: Gold Image NGINX
runs-on: ubuntu-20.04
env:
CHEF_LICENSE: accept # so that we can use InSpec without manually accepting the license
PROFILE: my_nginx # path to our profile
gold-imageis an arbitrary name we gave this job. It would be more useful if we were running more than one.nameis a simple title for this job.runs-ondeclares what operating system we want our runner node to be. We picked Ubuntu (and we suggest you do to to make sure the rest of the workflow commands work correctly).envdeclares environment variables for use by any step of this job. We will go ahead and set a few variables for running InSpec later on:CHEF_LICENSEwill automatically accept the license prompt when you run InSpec the first time so that we don' hang waiting for input!PROFILEis set to the path of the InSpec profile we will use to test. This will make it easier to refer to the profile multiple times and still make it easy to swap out.
The Next Step
Now that we have our job metadata in place, let's add an actual task for the runner to complete, which GitHub Actions refer to as steps -- a quick update on our runner node's dependencies (this shouldn't be strictly necessary, but it's always good to practice good dependency hygiene!). In our pipeline.yml file, add:
steps:
  - name: PREP - Update runner # updating all dependencies is always a good start
    run: sudo apt-get update
pipeline.yml after adding a stepname: Demo Security Validation Gold Image Pipeline
on:
push:
branches: [main] # trigger this action on any push to main branch
jobs:
gold-image:
name: Gold Image NGINX
runs-on: ubuntu-20.04
env:
CHEF_LICENSE: accept # so that we can use InSpec without manually accepting the license
PROFILE: my_nginx # path to our profile
steps:
- name: PREP - Update runner # updating all dependencies is always a good start
run: sudo apt-get update
Again, be very careful about your whitespacing when filling out this structure!
We now have a valid workflow file that we can run. We can trigger this pipeline to run by simply committing what we have written so far to our repository -- because of the event trigger we set, GitHub will catch the commit event and trigger our pipeline for us. Let's do this now. At your terminal:
git add .github
git commit -s -m "adding the github workflow file"
git push origin main
$> git add .
$> git commit -s -m "adding the github workflow file"
[main c2c357b] adding the github workflow file
 1 file changed, 16 insertions(+)
 create mode 100644 .github/workflows/pipeline.yml
$> git push origin main
Enumerating objects: 6, done.
Counting objects: 100% (6/6), done.
Delta compression using up to 2 threads
Compressing objects: 100% (3/3), done.
Writing objects: 100% (5/5), 713 bytes | 713.00 KiB/s, done.
Total 5 (delta 1), reused 0 (delta 0), pack-reused 0
remote: Resolving deltas: 100% (1/1), completed with 1 local object.
To https://github.com/<your githiub profile>/saf-training-lab-environment
   199b158..c2c357b  main -> main
$>
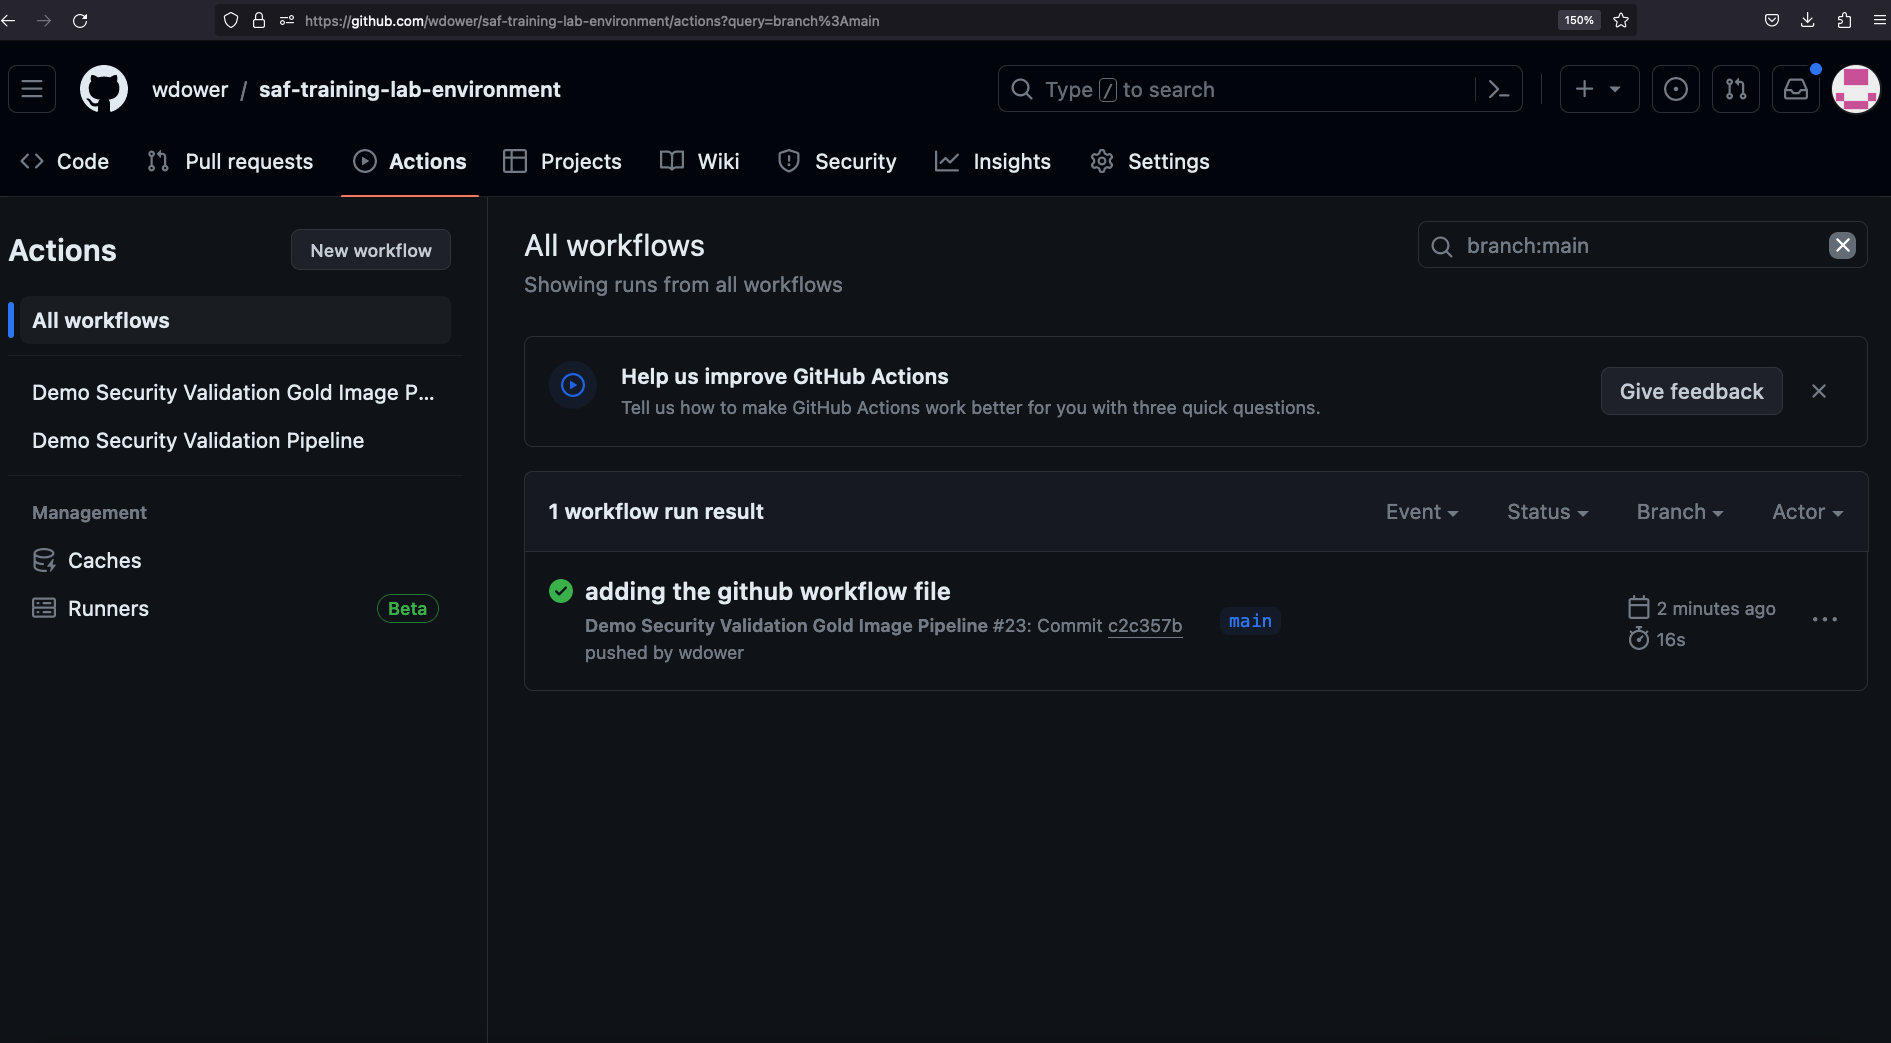
Once we push our code, you can go to another tab in our browser, load up your personal code repository for the class content that you forked earlier, and check out the Actions tab to see your pipeline executing.

Note the little green checkmark next to your pipeline run. This indicates that the pipeline has finished running. You may also see a yellow circle to indicate that the pipeline has not completed yet, or a red X mark to indicate an errr, depending on the status of your pipeline when you examine it.
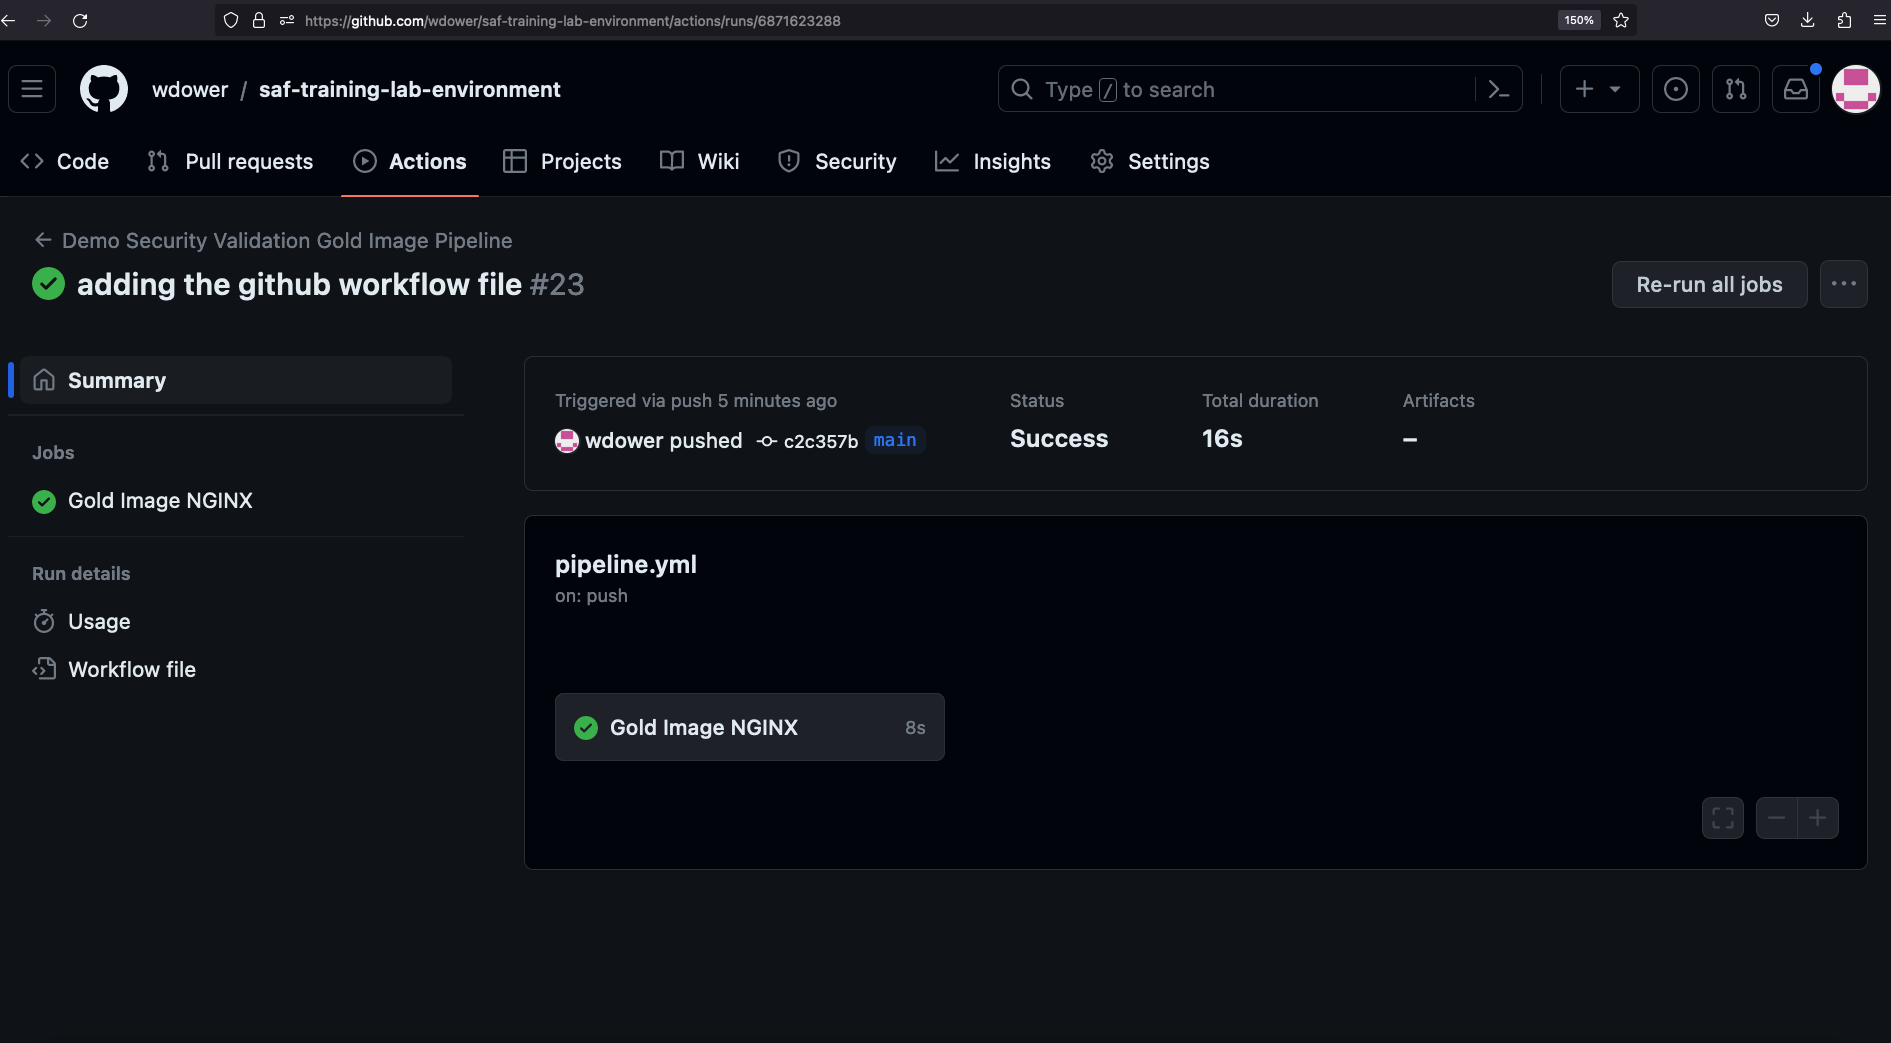
If we click on the card for our pipeline run, we get more detail:

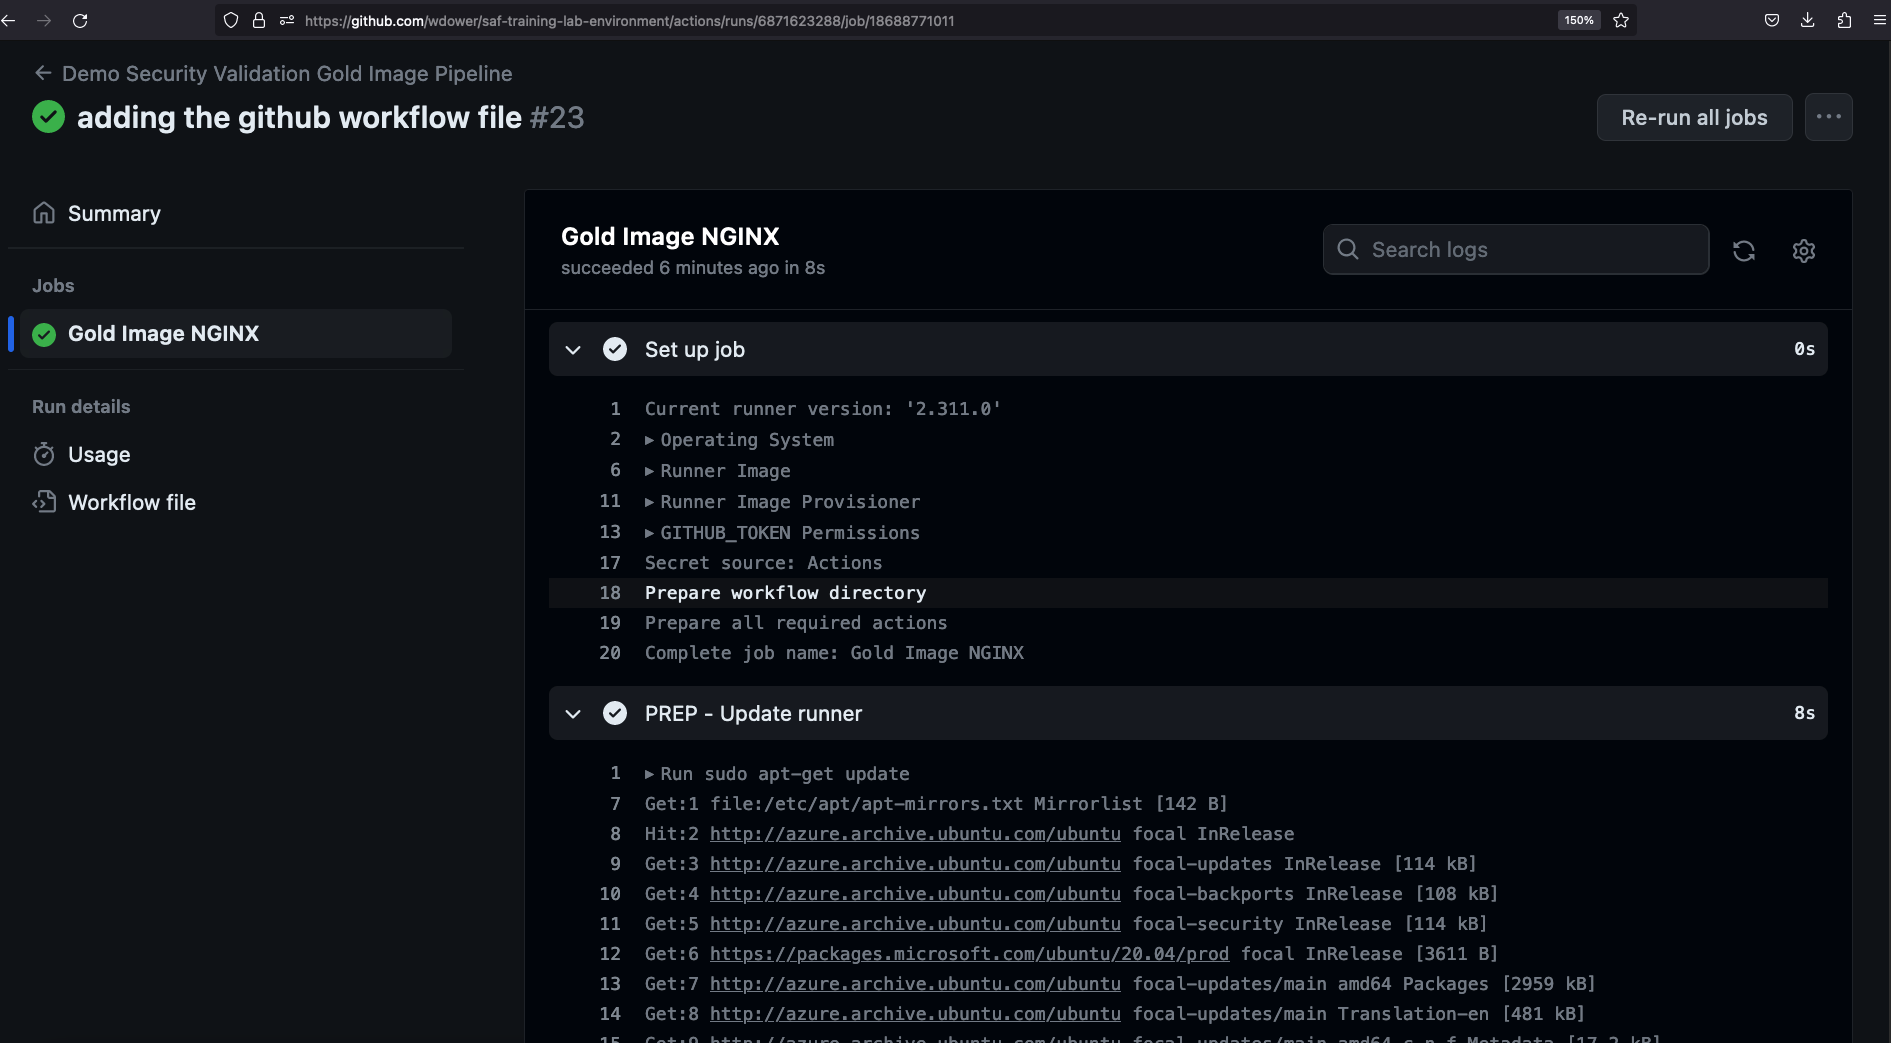
You can see some info on the triggered run, including a card showing the job that we defined earlier. Clicking it gives us a view of the step we've worked into our pipeline -- we can even see the stdout (terminal output) of running that step on the runner.

Congratulations, you've run a pipeline! Now we just need to make it do something useful for us.
How Often Should I Push Code? Won't Each Push Trigger a Pipeline Run?
It's up to you.
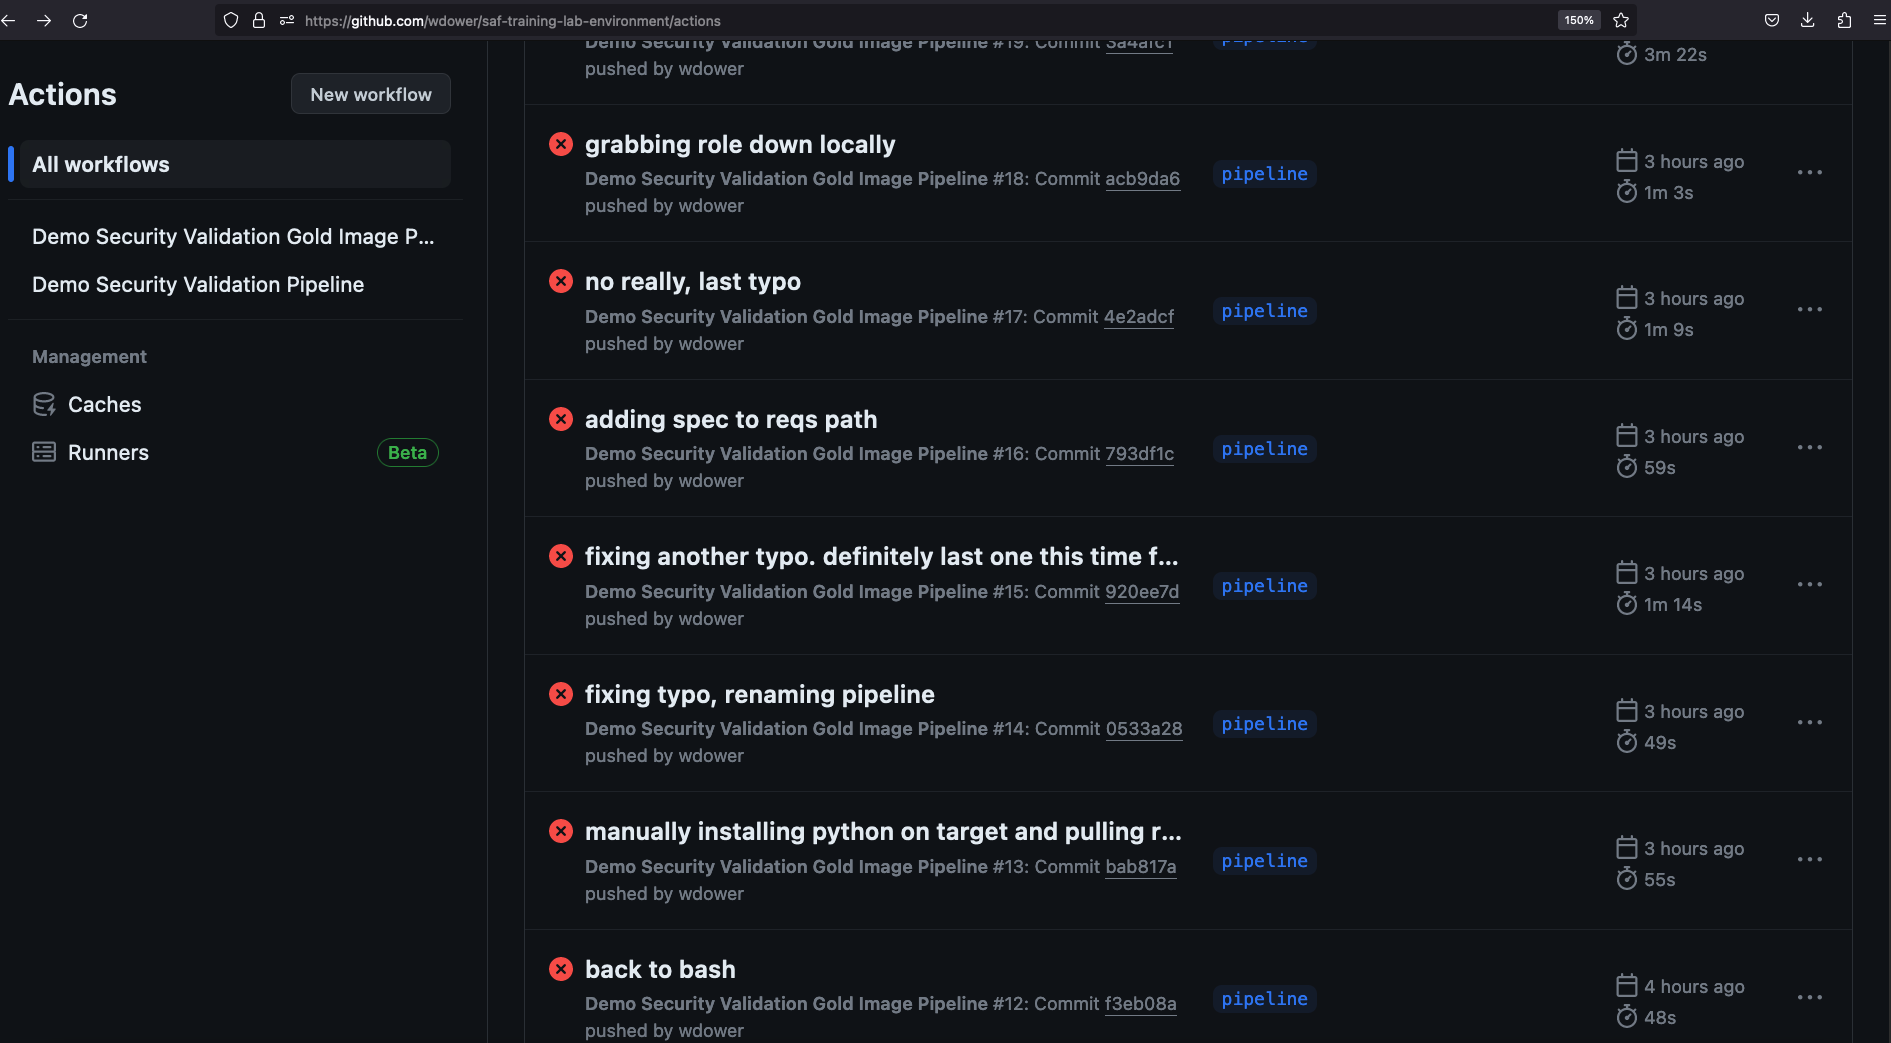
Some orchestration tools let you run pipelines locally, and in a real repo, you'd probably want to do this on a branch other than the main one to keep it clean. But in practice it has been the authors' experience that everyone winds up simply creating dozens of commits to the repo to trigger the pipeline and watch for the next spot where it breaks. There's nothing wrong with doing this.
For example, consider how many failed pipelines the author had while designing the test pipeline for this class, and how many of them involve fixing simple typos. . .
